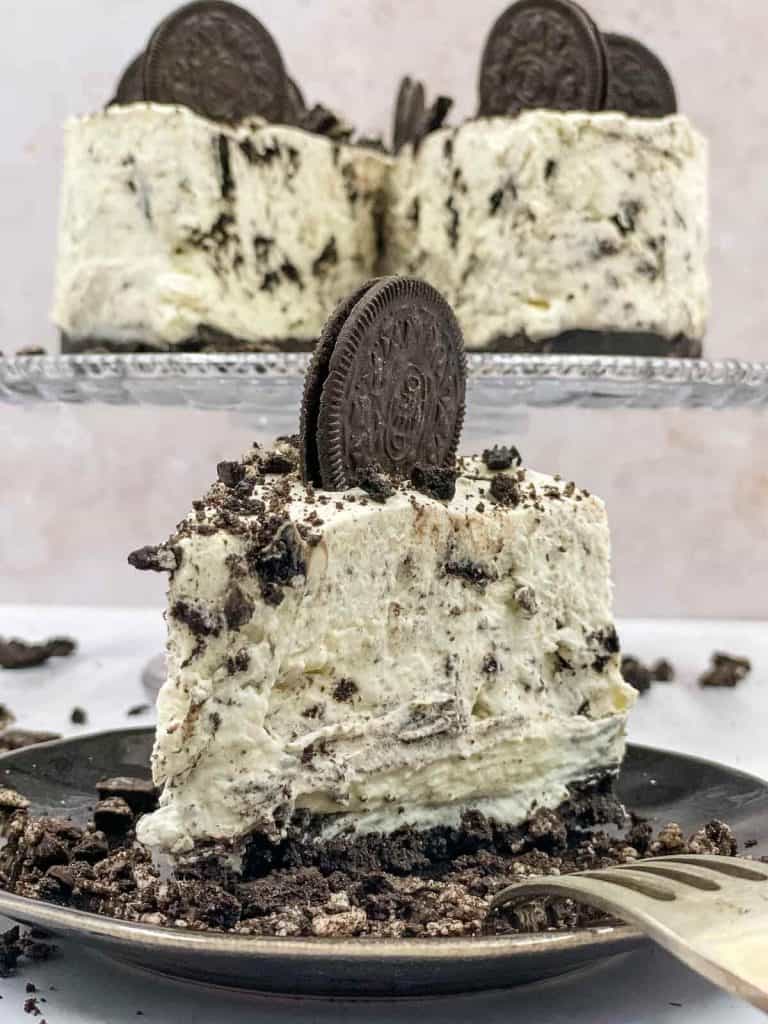
No Bake Oreo Cheesecake Recipe
Oh my goodness, when you bite into a slice of no bake oreo cheesecake with crushed Oreo cookies in a creamy cheesy filling, on the most delicious Oreo crust, you’ll think that all your birthdays have come at once! This is a no-bake dessert that anyone can make, even the kids can help you to make it!
This post contains affiliate links. As an Amazon Affiliate, if you purchase through those links, I earn a small commission. Thank you!
Why you’ll love our no-bake cheesecake recipe
- With only 7 ingredients, this is so easy to make using a no-bake cheesecake filling!
- Everybody will love it, adults and kids alike.
- It’s the perfect easy no-bake dessert for family gatherings, Easter, Christmas, and Mother’s Day.
- All the ingredients are 100% vegetarian.
It takes only 25 minutes to prepare this amazing cheesecake, you can prepare it the night before you need it and it’ll be setting while you sleep!
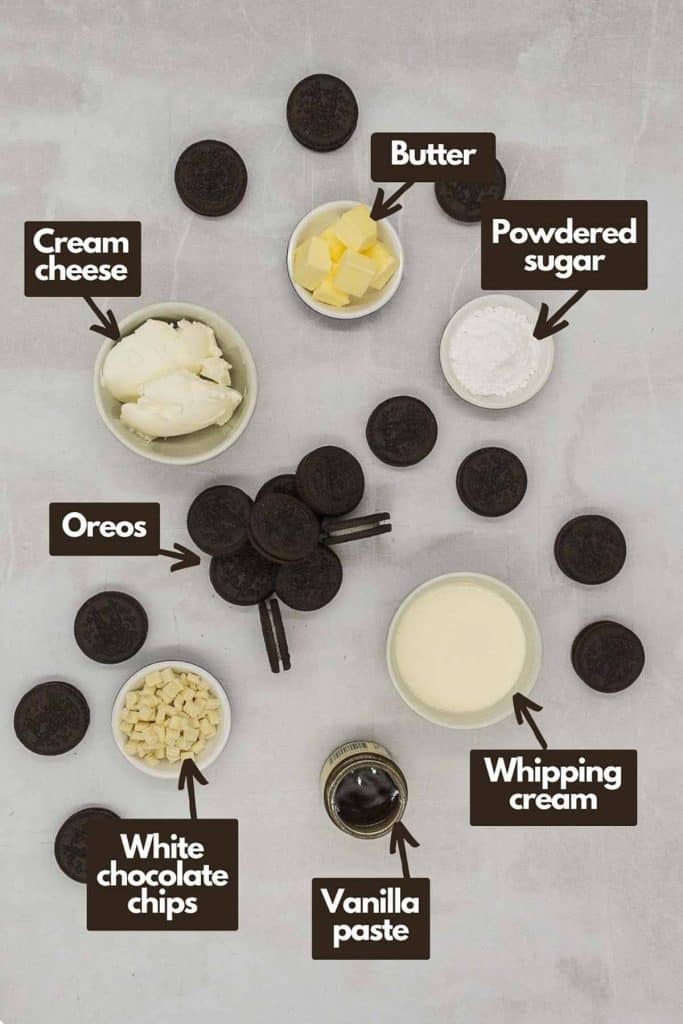
Ingredients you’ll need
You’ll need all the ingredients in the photograph below to make our no-bake Oreo cheesecake recipe.
How to make a no-bake Oreo cheesecake with step-by-step instructions
Making our no-bake Oreo cheesecake is easy if you follow our simple instructions.
A full printable recipe and the measurements in both US customary and metric are available in the recipe card below.
For the cheesecake crust
Place your Oreos in a food processor and blitz them until they resemble fine crumbs.
Add the crumbs to a mixing bowl, add melted butter, and mix until fully combined and the crumbs are moist.
Next, place the crumbs in a prepared springform pan and press down on them with the back of a spoon until they are an even compacted base.
Place the pan in the fridge to chill.
SERIOUSLY GOOD
DESSERTS!

Dessert First is a collection of 61 RECIPES to show you that you can make beautiful, impressive desserts right in your own kitchen, no matter your skill level.
Immediate eBook download. No physical book available.
Includes ad-free recipes like:
∙ Lemon Pound Cake
∙ Key Lime Bars
∙ Boston Cream Pie
∙ No-Bake Chocolate Lasagna
∙ Raspberry Cheesecake
...and much more!
For the cheesecake filling
First, roughly crush your Oreos and set them aside.
Using a stand mixer with a whisk attachment or an electric handheld mixer, add the room-temperature cream cheese to a large bowl and beat it until it’s smooth.
Next, add in the vanilla and powdered sugar (icing sugar) and mix until it is fully combined and thickened.
Add heavy whipping cream in a different mixing bowl, and start to mix, first slowly and increasing the speed until the mixture has formed stiff peaks.
Now, add the whipped cream to the cheese mixture and fold it in gently.
Next, fold in the crushed Oreos and white chocolate chips.
Place the cream cheese mixture onto the chilled Oreo crust and flatten it so it becomes an even layer (an angled palette knife helps with this).
Place the Oreo cheesecake in the fridge and refrigerate for a minimum of 5 hours, but preferably overnight.
It’s important to chill for at least 5 hours or your cheesecake will fall apart.
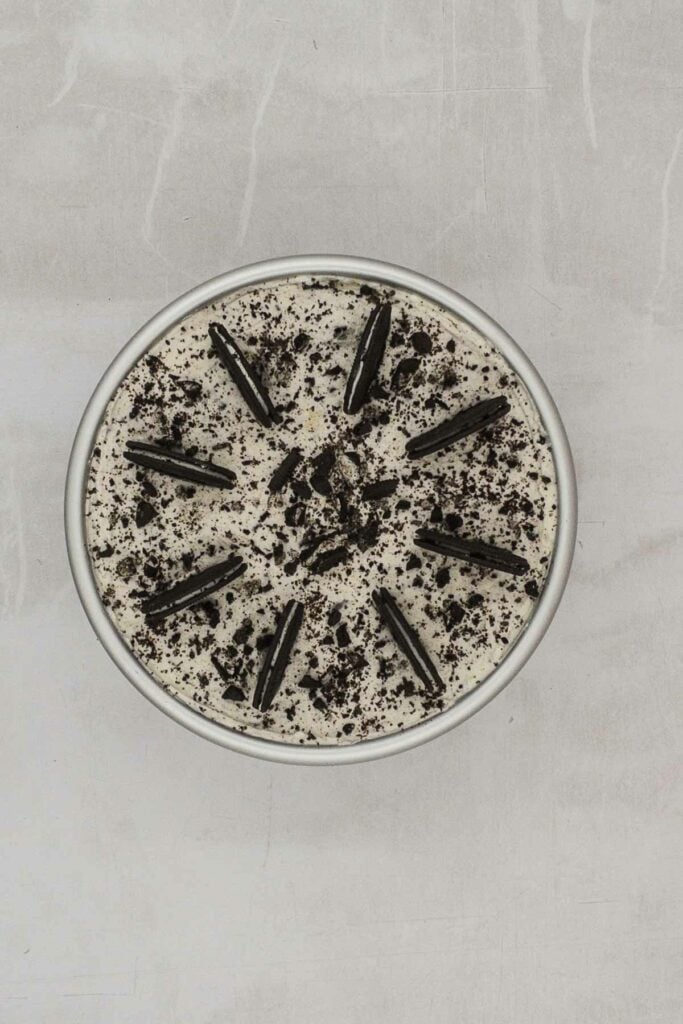
Optional cheesecake topping
We recommend decorating your cheesecake after it has set.
If you choose to decorate your Oreo cheesecake, you can crush up Oreos and scatter them over the top, use Oreo thins to sink into the top, or even swirl whipped cream, taking inspiration from another Oreo cheesecake recipe if you want more decoration ideas, taking inspiration from another oreo cheesecake recipe if you want more decoration ideas.
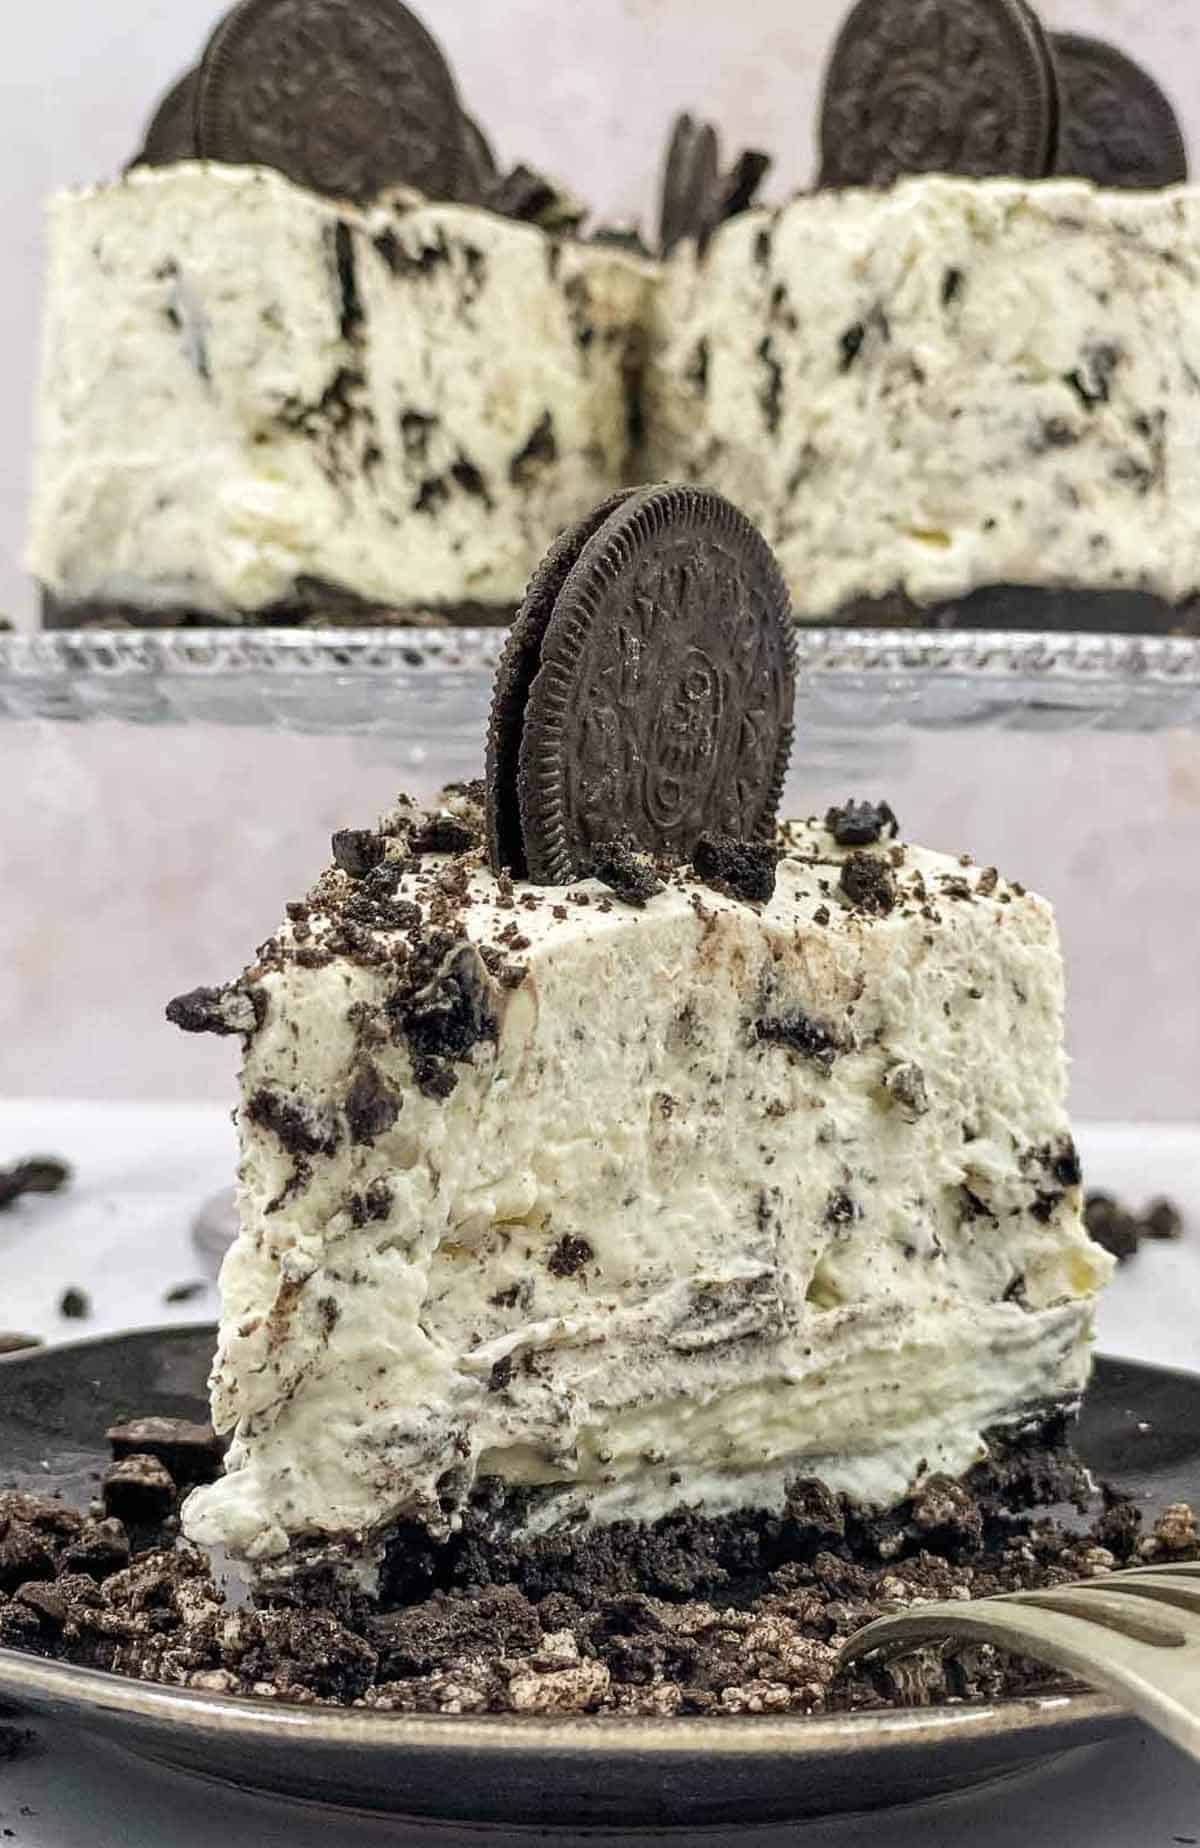
Serve your delicious cheesecake, and enjoy!
And if you can’t get enough of Oreo’s, you should check out these air fryer Oreos out.
Ingredients
For the cheesecake crust
- 24 Oreos
- 4 tbsp Unsalted butter melted
For the cheesecake filling
- 15 Oreos
- 16 oz Cream cheese softened
- 1 tsp Vanilla bean paste
- 1 cup Powdered sugar (icing sugar)
- 2 cups Heavy whipping cream
- ½ cup White chocolate chips
For the decoration (optional)
- Oreos (we used Oreo thins)
- Crushed Oreos
- Whipping cream
Instructions
For the cheesecake crust
- Place your Oreos in a food processor and blitz them until they resemble fine crumbs. Add the crumbs to a mixing bowl, add melted butter and mix until fully combined and the crumbs are moist. Next, place the crumbs in a prepared springform pan and press down on them with the back of a spoon, until they are an even compacted base. Place the pan in the fridge to chill24 Oreos, 4 tbsp Unsalted butter
For the cheesecake filling
- First, roughly crush your Oreos and set them aside15 Oreos
- Either using a stand mixer with a whisk attachment or using an electric handheld mixer, add the room temperature cream cheese to the mixing bowl and beat it until it’s smooth. Next, add in the vanilla and powdered sugar (icing sugar) and mix until it is fully combined. In a different mixing bowl, add heavy whipping cream, and start to mix, first slowly and increasing the speed until the mixture has formed stiff peaks. Now, add the whipped cream to the cheese mixture and fold it in gently. Next, fold in the crushed Oreos and white chocolate chips. Place the cream cheese mixture onto the chilled Oreo crust and flatten it so it becomes an even layer (an angled palette knife helps with this)16 oz Cream cheese, 1 tsp Vanilla bean paste, 1 cup Powdered sugar (icing sugar), 2 cups Heavy whipping cream, ½ cup White chocolate chips
- Place the Oreo cheesecake in the fridge for a minimum of 5 hours, but preferably overnight
Optional cheesecake topping
- We recommend decorating your cheesecake after it has set. If you choose to decorate your Oreo cheesecake, then you can crush up Oreos and scatter them over the top, use Oreo thins to sink into the top, or even swirl whipped cream on top. Serve your delicious cheesecake and enjoy!Oreos (we used Oreo thins), Crushed Oreos, Whipping cream
Notes
Nutrition
SERIOUSLY GOOD
DESSERTS!
Dessert First is a collection of 61 RECIPES to show you that you can make beautiful, impressive desserts right in your own kitchen, no matter your skill level.
Immediate eBook download. No physical book available.
Includes ad-free recipes like:
∙ Lemon Pound Cake
∙ Key Lime Bars
∙ Boston Cream Pie
∙ No-Bake Chocolate Lasagna
∙ Raspberry Cheesecake
...and much more!
Is it difficult to make a no-bake Oreo cheesecake?
No, not at all.
Making the crust is simply crushing Oreos, mixing them with melted butter, and packing them into a springform tin.
For the cheesecake filling, you must beat cream cheese and add powdered sugar and vanilla.
You then simply mix heavy whipping cream, add in crushed Oreos and white chocolate chips, fold it into the cream cheese mixture, and then place it onto the Oreo crust.
Place it in the fridge and chill. Simple huh?
And if you want another easy option, then try this Instant Pot Oreo cheesecake for an easy baked cheesecake, or give this easy no-bake strawberry cheesecake recipe a go for a fruit-forward twist.
How long does a no-bake Oreo cheesecake take to set?
No-bake cheesecakes do need time to set, so give them enough time, or you’ll end up with a runny consistency that won’t hold together.
We always recommend a minimum of 5 hours in the fridge, but what’s even better is making it the night before and leaving it to set while you sleep.
Do I blitz the whole Oreo, or do I remove the cream filling?
You blitz the whole Oreo; there’s no need to fiddle around removing the cream filling.
This means your no-bake cheesecake is bursting with Oreo flavor!
Can I use light cream cheese?
No, sadly not.
Reduced-fat cream cheese will not set properly, and it’ll become a sloppy mess.
What equipment do I need to make this cheesecake?
To make our no-bake Oreo cheesecake recipe, you’ll need a food processor, either a stand mixer or an electric handheld mixer, a mixing bowl, and a 9-inch springform pan.
An angled palette knife is also super helpful.
Don’t worry if you don’t have a food processor or stand mixer; you’ll see in our notes that there are still ways to make your Oreo cheesecake without them.
How do I soften cream cheese?
All you need to do is leave your cream cheese at room temperature for approximately 30 minutes.
Don’t forget, you need regular cream cheese for a no-bake cheesecake; do not use low-fat cheese.
Why won’t my no-bake cheesecake filling set properly?
When a no-bake cheesecake doesn’t set properly, it’s usually because of one of two reasons.
Firstly, you’ve used Philadelphia cream cheese light (or reduced fat).
If you use light cream cheese, then it just won’t set, so make sure you choose regular cream cheese.
Secondly, it may be because you didn’t leave it to set for long enough.
These tasty beauties need a minimum of 5 hours and if possible, overnight to set.
It’s worth quickly making your cheesecake the night before and giving it extra time.
It’ll only take you 25 minutes, and it’s well worth it.
How do I store it?
Your no-bake Oreo cheesecake will be kept for up to 3 days in an airtight container in the fridge.
Freeze it for up to 3 months but make sure you wrap it tightly in plastic wrap.
Recipe notes and expert tips
- Don’t have a food processor?
The reason you have a food processor is to break up the Oreos; you can place them in a sandwich bag and bash them with a rolling pin until you get the right consistency. - Cream cheese
You need to use softened cream cheese and make sure it’s regular cream cheese. - Get creative
We’ve decorated our cheesecake so even a novice can achieve it; you could have an elaborate whipped topping (fresh whipped cream) design. - Sweetened condensed milk
People have asked about using sweetened condensed milk; we haven’t tried it ourselves, but please let us know how you get on with it if you try! - Missing a stand mixer?
Just use a handheld electric mixer instead. - Using cool whip
Some readers have substituted whipping cream with cool whip for the whipped topping decoration; they’ve said it works well, but we can’t confirm as we’ve not tried cool whip. - Cut corners
If you’re in a real hurry, then you can use a store-bought Oreo crust, but making it really doesn’t take long, so we recommend homemade for the best possible no-bake Oreo cheesecake.
More easy cheesecake recipes for you to try
If you love our Oreo cheesecake recipe (and who can blame you), you should give these cheesecakes a try.
- Biscoff cheesecake
- Malteser cheesecake
- Creme brulee baked cheesecake
- Mini egg cheesecake
- Mini Biscoff cheesecake
- Strawberry cake
We hope you enjoy making and eating our no-bake Oreo cheesecake and would love to know how you got on with making it.
Please let us know by leaving a comment below, and feel free to ask any questions you may have.