Tiramisu Cheesecake
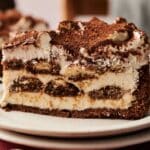
I love both tiramisu and the creamy comfort of baked cheesecake, and this no-bake Tiramisu Cheesecake bridges the best of both worlds. It balances bold coffee, deep cocoa, and tangy cream cheese perfectly, and even without eggs or batter, it tastes rich yet light with a crunch from ladyfingers. The trick lies in how you layer it; it’s simple but makes a big difference!
This post contains affiliate links. As an Amazon Affiliate, if you purchase through those links, I earn a commission. Thank you!
I like desserts that work for both small family dinners and bigger gatherings, and this is one of those tiramisu cheesecake recipes that always hit the spot. You can put it together the day before, let it chill, and it’s ready and tastes even better when it’s time to serve. Leftovers don’t go to waste either; they keep well in the fridge and freeze nicely for another time.
Ingredients You’ll Need
You’ll need all the ingredients shown in the photograph below.

How to Make Tiramisu Cheesecake with Step-By-Step Instructions
Scroll down for the full recipe card containing a full printable recipe and measurements in both US customary and metric units.
You’ll find making this recipe easier than you think if you follow my step-by-step directions.
Prepare the crust
Pulse the graham cookies in a food processor until finely ground. Add cocoa powder and instant coffee, then pulse again to combine. If you don’t have one yet, this compact food processor makes prep fast and cleanup easy.
Pour in the melted butter, and blend again until evenly moistened. Press this mixture firmly into the bottom of a 9-inch springform pan lined with parchment paper, using the back of a measuring cup to make the cheesecake base sturdy, tightly packed, and even.
This nonstick springform pan helps with clean release and tidy layers, while precut parchment sheets keep the sides from sticking.
Make the cheesecake filling
In a large bowl, beat the cream cheese until smooth and creamy. A hand mixer makes this much easier if your cream cheese is still a bit firm. If you want to be more hands-off, a stand mixer with a paddle attachment works just as well.
Add the mascarpone, powdered sugar, vanilla extract, and salt, mixing until fully blended. Make sure to scrape down the sides of the bowl so nothing goes to waste. A silicone spatula is perfect for scraping the bowl clean without scratching.
Spread half of this cheesecake mixture evenly over the crust using the spatula so you get neat slices and a balanced bite every time.
SERIOUSLY GOOD
DESSERTS!

Dessert First is a collection of 61 RECIPES to show you that you can make beautiful, impressive desserts right in your own kitchen, no matter your skill level.
Immediate eBook download. No physical book available.
Includes ad-free recipes like:
∙ Lemon Pound Cake
∙ Key Lime Bars
∙ Boston Cream Pie
∙ No-Bake Chocolate Lasagna
∙ Raspberry Cheesecake
...and much more!
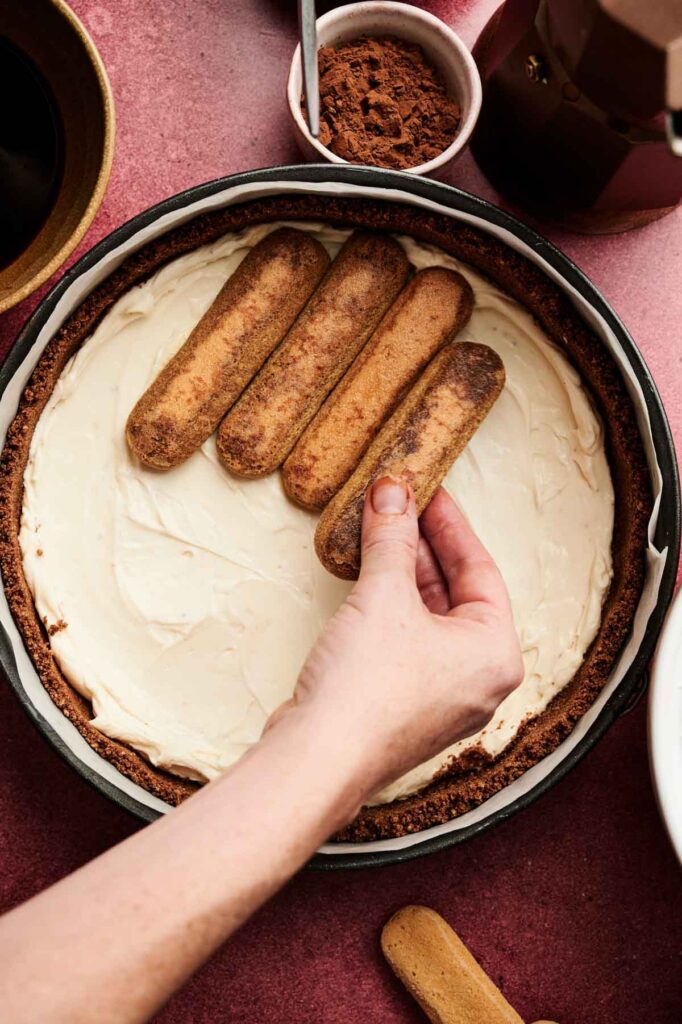
Add the ladyfinger layer
Quickly but also carefully dip each ladyfinger into the cooled coffee and place them in a single layer on top of the filling, trimming them if needed. Be careful not to soak them or they’ll become soggy and fall apart.
A shallow-dipping dish like this makes it easier to dip and line up the ladyfingers without a mess. Spread the remaining cheesecake mixture on top, then repeat with the rest of the dipped ladyfingers. Cover the pan and refrigerate for at least 4 hours until firm.
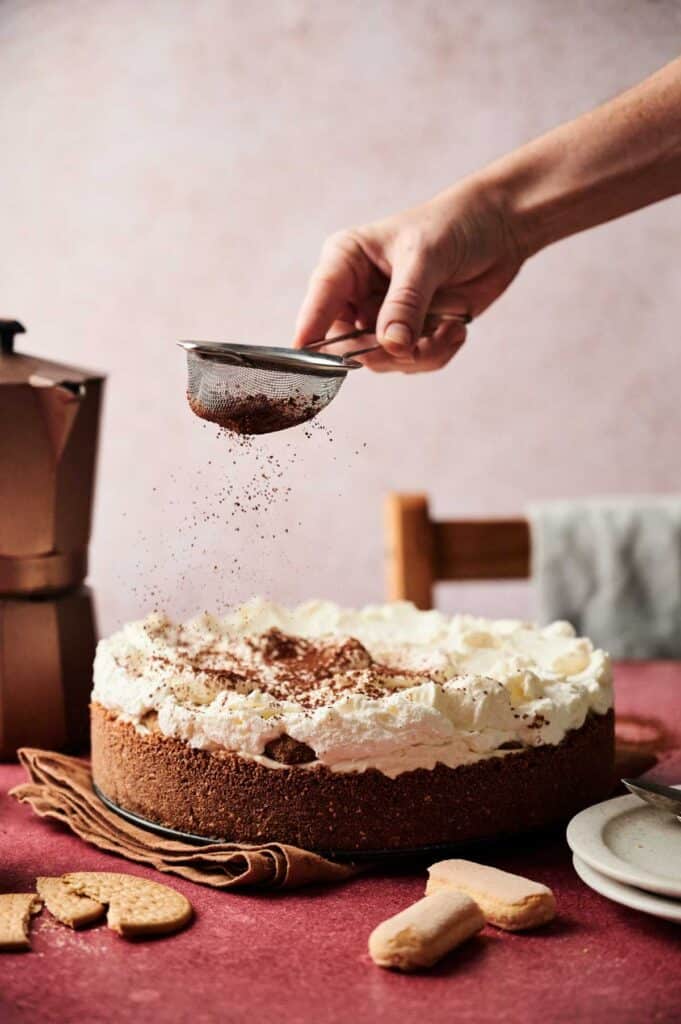
Whip the topping
Once you’re ready to serve, whip the heavy cream until soft peaks form. Fresh whipped cream holds its shape and tastes better than if it sits too long. Then, add powdered sugar and beat again until stiff peaks hold.
Spread the whipped cream over the chilled cheesecake and dust generously with cocoa powder for the classic tiramisu finish.
I always use a fine mesh strainer for this; it’s great for dusting cocoa evenly on top.
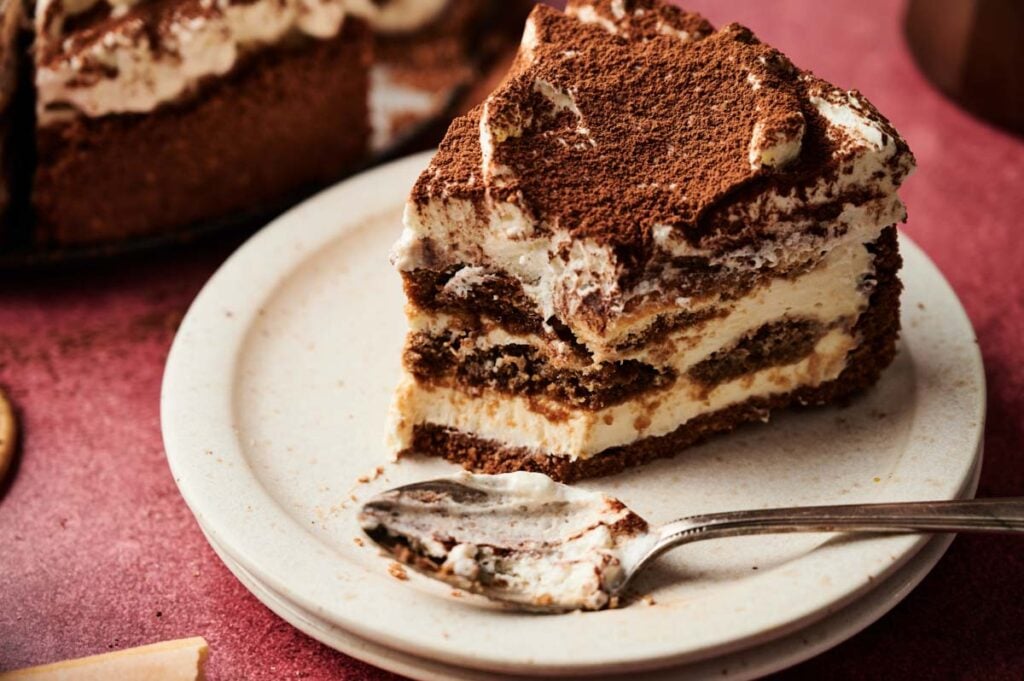
Slice and serve
Use a sharp knife to cut clean slices, wiping the blade between cuts if needed. If you want ultra-clean slices, this chef’s knife gives smooth cuts without dragging through the layers.
Serve chilled for the best texture and flavor. Enjoy!
If you’re bringing this dessert to a gathering, you can simply remove the sides of the pan and place the cheesecake inside a hard-sided cake container to protect it from getting smashed. Then, keep it chilled during transport by sliding the container into an insulated round carrier.

Equipment
- Stand mixer optional
- Stretchable silicone lid optional
Ingredients
For the crust:
- 4 cups (about 9 ounces) graham cookies
- 2 tablespoons Dutch-processed cocoa powder
- 1 teaspoon instant coffee granules
- ¾ cup unsalted butter melted
For the cheesecake filling:
- 21 ounces cream cheese softened
- 9 ounces about 1¼ cups mascarpone cheese
- 1 cup powdered sugar
- 1½ teaspoons vanilla extract
- ¼ teaspoon salt
- 1 cup strong black coffee cooled
- 32 ladyfingers
For the topping:
- 1½ cups heavy whipping cream
- 2 tablespoons powdered sugar
- Dutch-processed cocoa powder for dusting
Video
Instructions
- Line a 9-inch springform pan with parchment paper.
- In a food processor, pulse the graham cookies until crumbly. Add cocoa powder and instant coffee, pulsing again to combine. Pour in the melted butter and pulse until the mixture is evenly moistened. Press the crust mixture firmly into the bottom and slightly up the sides of the pan using the back of a measuring cup.4 cups (about 9 ounces) graham cookies, 2 tablespoons Dutch-processed cocoa powder, 1 teaspoon instant coffee granules, ¾ cup unsalted butter
- In a large mixing bowl, beat the cream cheese with an electric mixer until smooth. Add mascarpone, powdered sugar, vanilla extract, and salt. Mix until fully combined and creamy. Spread half of the cheesecake filling evenly over the prepared crust.21 ounces cream cheese, 9 ounces about 1¼ cups mascarpone cheese, 1 cup powdered sugar, 1½ teaspoons vanilla extract, ¼ teaspoon salt
- Briefly dip each ladyfinger into the cooled coffee (do not soak) and arrange in a single layer over the filling. Repeat with the remaining cheesecake filling, then another layer of dipped ladyfingers. Cover and refrigerate for at least 4 hours, or until set.1 cup strong black coffee, 32 ladyfingers
- Just before serving, whip the heavy cream until soft peaks form. Add powdered sugar and continue beating until stiff peaks form. Spread the whipped cream over the cheesecake and dust generously with cocoa powder.1½ cups heavy whipping cream, 2 tablespoons powdered sugar, Dutch-processed cocoa powder
- Slice with a sharp knife and enjoy chilled.
Notes
- Boost with instant espresso powder: You can swap the instant coffee granules in the crust for instant espresso powder to intensify the coffee flavor. This gives a bolder, slightly more bitter edge that balances the creaminess.
- Swap biscuits or graham cookies: Feel free to use graham cookies or plain biscuits like Marie or digestive biscuits in place of ladyfingers for the crust. The change is mild; biscuits give a slightly less sweet and more buttery flavor, but the texture stays very similar.
- Freeze the crust: After pressing the crust into the pan, chill it in the fridge for 20–30 minutes or freeze briefly. This firms the base, helps prevent cracks or breaks in the crust, and makes it easier to spread the cheesecake filling without shifting the crumbs.
- Soften the cream cheese: Let the cream cheese sit at room temperature so your filling blends smoothly without lumps.
- Use hot water wisely: If using instant espresso powder, dissolve it fully in hot water from a kettle or small saucepan and cool completely before dipping the ladyfingers, so they keep their structure.
- Don’t boil the coffee mixture: Avoid dipping the ladyfingers into freshly boiled coffee. Hot liquid will make them fall apart, so let it cool to room temperature first.
- Chill thoroughly: Refrigerate for at least 4 hours or overnight so the filling sets and the flavors blend together.
- Stick with unsweetened cocoa for dusting: Dutch-processed cocoa adds a bold finish and keeps the topping from tasting too sweet.
Nutrition
SERIOUSLY GOOD
DESSERTS!
Dessert First is a collection of 61 RECIPES to show you that you can make beautiful, impressive desserts right in your own kitchen, no matter your skill level.
Immediate eBook download. No physical book available.
Includes ad-free recipes like:
∙ Lemon Pound Cake
∙ Key Lime Bars
∙ Boston Cream Pie
∙ No-Bake Chocolate Lasagna
∙ Raspberry Cheesecake
...and much more!
Recipe Notes and Expert Tips
I’ve put together my best tips to help your tiramisu cheesecake turn out smooth, flavorful, and beautiful every time.
- Boost with instant espresso powder: You can swap the instant coffee granules in the crust for instant espresso powder to intensify the coffee flavor. This gives a bolder, slightly more bitter edge that balances the creaminess.
- Swap biscuits or graham cookies: Feel free to use graham cookies or plain biscuits like Marie or digestive biscuits in place of ladyfingers for the crust. The change is mild; biscuits give a slightly less sweet and more buttery flavor, but the texture stays very similar.
- Freeze the crust: After pressing the crust into the pan, chill it in the fridge for 20–30 minutes or freeze briefly. This firms the base, helps prevent cracks or breaks in the crust, and makes it easier to spread the cheesecake filling without shifting the crumbs.
- Soften the cream cheese: Let the cream cheese sit at room temperature so your filling blends smoothly without lumps.
- Use hot water wisely: If using instant espresso powder, dissolve it fully in hot water from a kettle or small saucepan and cool completely before dipping the ladyfingers, so they keep their structure.
- Don’t boil the coffee mixture: Avoid dipping the ladyfingers into freshly boiled coffee. Hot liquid will make them fall apart, so let it cool to room temperature first.
- Chill thoroughly: Refrigerate for at least 4 hours or overnight so the filling sets and the flavors blend together.
- Stick with unsweetened cocoa for dusting: Dutch-processed cocoa adds a bold finish and keeps the topping from tasting too sweet.
How to Store Leftovers
If you’re making this cheesecake in advance, you’ll want to skip the whipped cream and cocoa powder until just before serving. Whipped cream can deflate after a few hours in the fridge, while cocoa powder may absorb moisture and turn dark and spotty if dusted too early.
To store, cover the pan tightly with plastic wrap to prevent the cheesecake layers from drying out or picking up odors from the fridge. This BPA-free plastic wrap clings tightly, and if you prefer something reusable, a stretchable silicone lid like this one is also a great choice.
You can also store leftover slices in an airtight container in the refrigerator for up to 5 days. I like using these stackable airtight glass storage containers as they keep the layers protected and fresh, and keep my fridge shelf looking organized and neat.
This dessert can be frozen for up to 3 months; just wrap slices without the toppings in a layer of plastic wrap and foil to prevent freezer burn. I use heavy-duty aluminum foil, which is much more durable and doesn’t tear easily. Thaw overnight in the fridge before adding the toppings.
More Easy Recipes for You to Try at Home
If you’re in the mood for something sweet and creamy without turning on the oven, I’ve got plenty more treats that you’ll be happy to try next:
