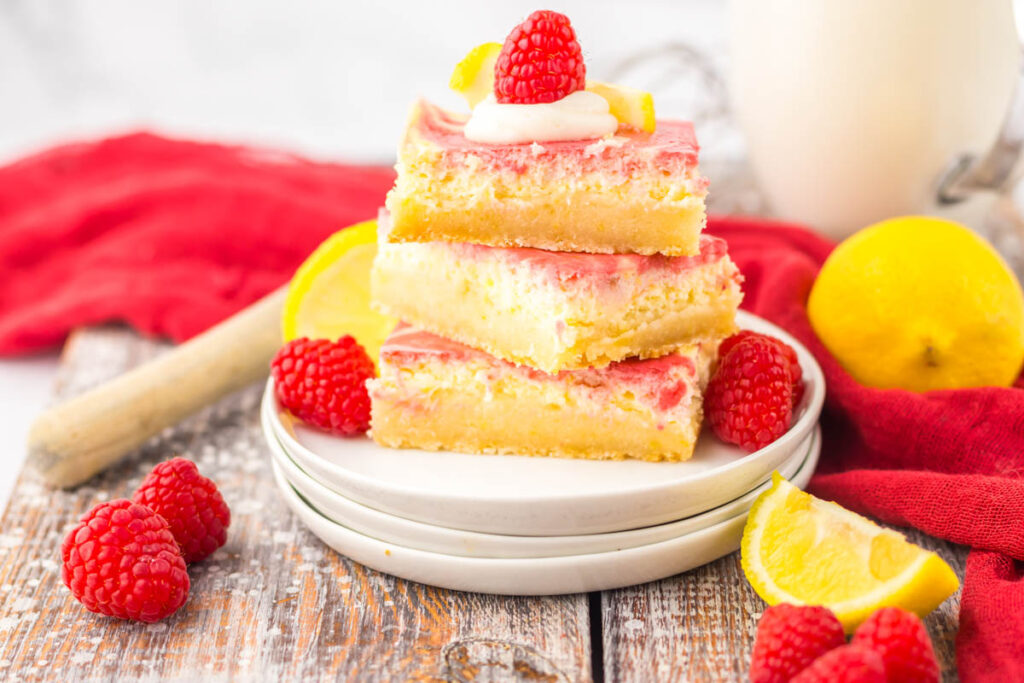
Epic Raspberry Lemon Cheesecake Bars

Love the bright, sweet-tart flavor combination of raspberries and lemons? If you’re looking for a delicious and refreshing dessert that’s perfect for sharing, then Raspberry Lemon Cheesecake Bars are a must-try. You’re going to love the creamy cheesecake filling bursting with lemon flavor, all nestled on a crumbly graham cracker crust. And don’t forget the vibrant raspberry swirl that adds pops of sweet and tartness in every bite. Think decadent, yet light and perfect for any occasion.
Why You’ll Love This Raspberry and Lemon Cheesecake Bars Recipe
- Customizable flavors: Love a stronger lemon punch? Adjust the zest! Craving a different fruit topping? Swap the raspberries for blueberries or cherries.
- Make-ahead magic: Don’t have time to bake right before serving? No problem! These bars can be prepped and chilled ahead of time.
- Portion control: Individual bars mean no need to cut a whole cheesecake. Perfect for satisfying your sweet tooth without going overboard.
- Crowd-pleaser: The dreamy combination of creamy, tart, and sweet is sure to be a hit at potlucks, bake sales, or simply enjoyed with family.
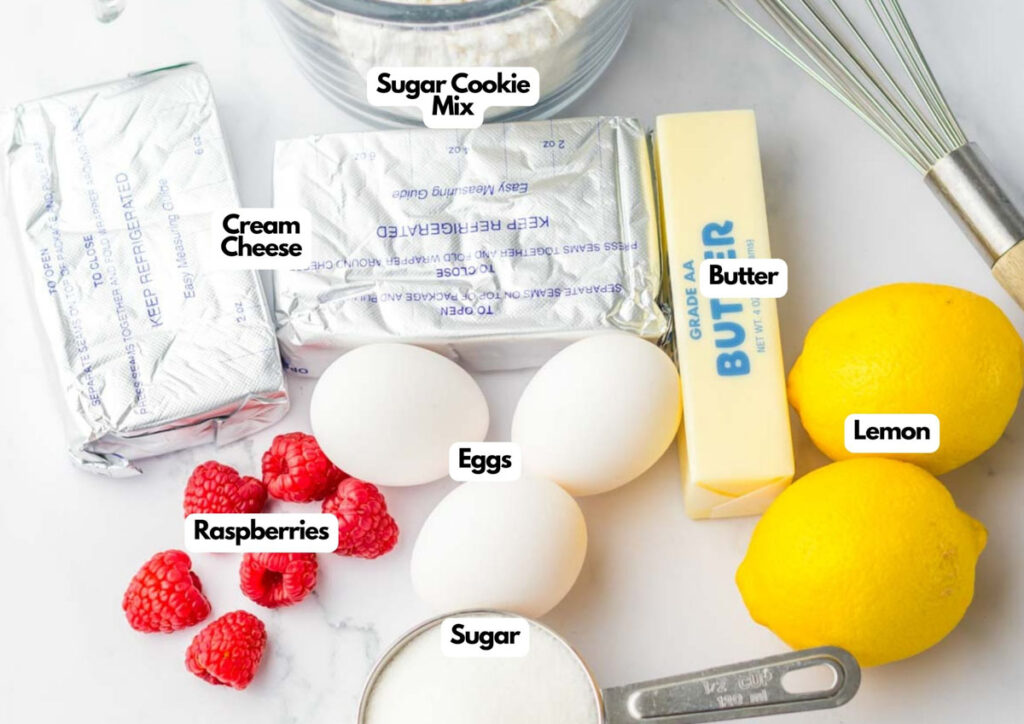
Ingredients You’ll Need
You’ll need all the ingredients in the photograph below.
How to Make Raspberry and Lemon Cheesecake Bars with Step-By-Step Instructions
A complete printable recipe and the measurements in both US customary and metric are available in the recipe card below.
Preheat and Prepare
Heat your oven to 325°F (160°C). Line a 9×13 baking dish with parchment paper and spray with non-stick cooking spray.
Make the Crust
Combine the sugar cookie mix, softened butter, egg, and lemon peel in a large bowl. Stir until a crumbly dough forms. Press the dough evenly into the bottom of the prepared baking dish. Bake for 15 minutes, then let cool for 10 minutes.
Whip up the Filling
In a separate bowl, using an electric mixer, beat the softened cream cheese, sugar, lemon peel, eggs, and lemon juice until smooth and creamy. Set aside ¼ cup of the cheesecake filling.
SERIOUSLY GOOD
DESSERTS!

Dessert First is a collection of 61 RECIPES to show you that you can make beautiful, impressive desserts right in your own kitchen, no matter your skill level.
Immediate eBook download. No physical book available.
Includes ad-free recipes like:
∙ Lemon Pound Cake
∙ Key Lime Bars
∙ Boston Cream Pie
∙ No-Bake Chocolate Lasagna
∙ Raspberry Cheesecake
...and much more!
Raspberry Swirl Time
Pour the remaining cheesecake filling over the cooled cookie crust. In a small bowl, mash the raspberries. Push the mashed berries through a sieve or strainer to remove the seeds, creating a smooth raspberry puree. Combine the raspberry puree with the reserved cheesecake filling.
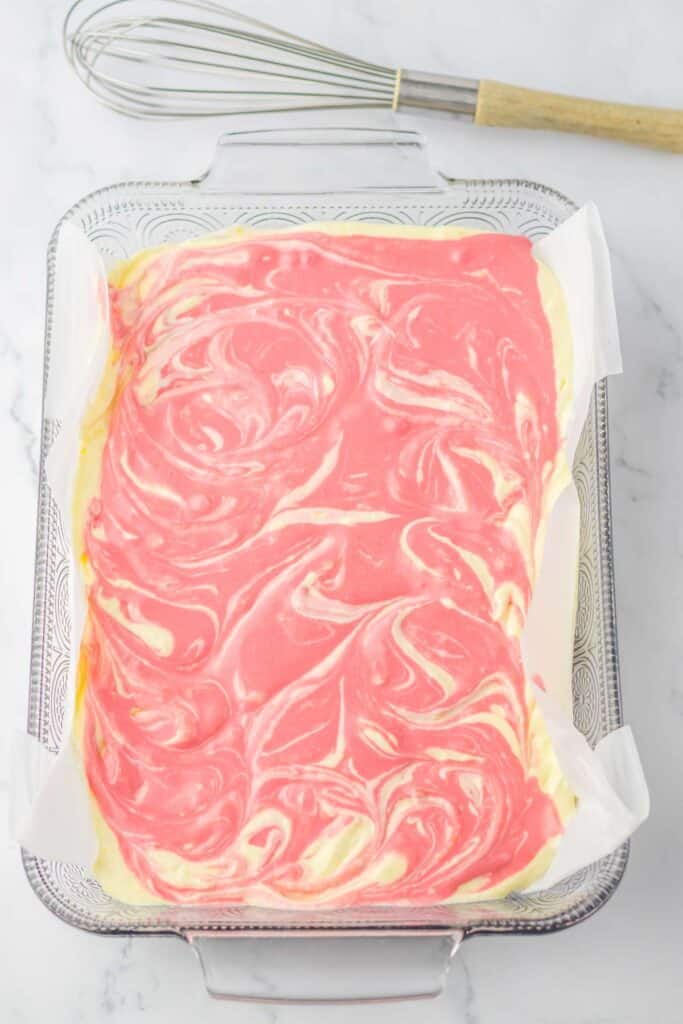
Swirl and Bake
Dollop the raspberry mixture over the cheesecake layer in the pan. Take a knife and swirl the mixture gently to create a marbled pattern. Bake the cheesecake bars for 30 to 35 minutes or until the filling is just set.
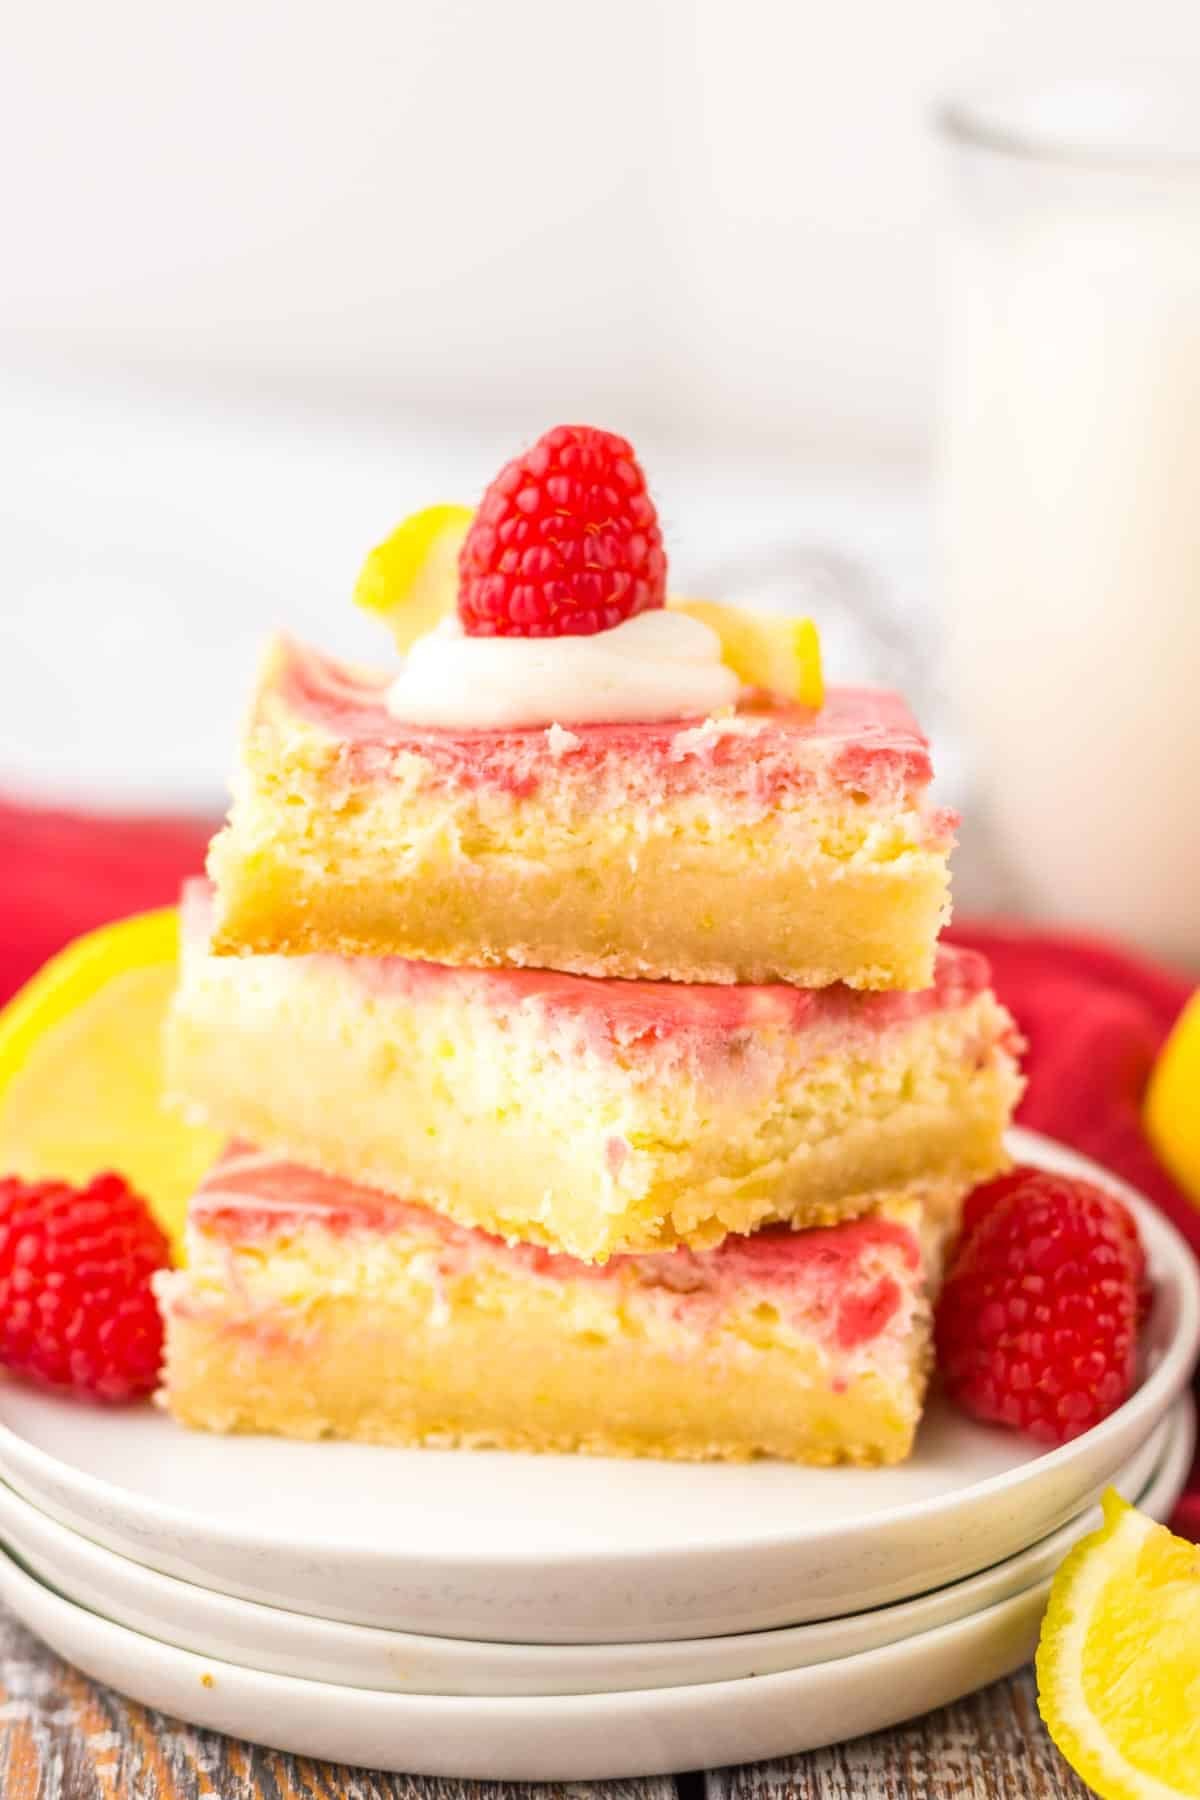
Chill and Enjoy
Let the bars cool slightly at room temperature before refrigerating for at least 2 hours or until completely chilled. Slice into 12 bars and garnish with additional fresh raspberries and lemon slices before serving.
Ingredients
For the crust:
- 1 pouch dry sugar cookie mix about 17.5 ounce
- ½ cup butter softened
- 1 egg
- 1 teaspoon grated lemon peel
For the filling:
- 2 8-ounce packages cream cheese softened
- ½ cup sugar
- 1 tablespoon grated lemon peel
- 2 eggs
- 1 lemon juiced
- 1 cup fresh raspberries
- Lemons and raspberries additional for garnishing
Instructions
- Heat oven to 325°F (160°C).
- Line a 9×13 baking dish with parchment paper and spray with non-stick spray.
- In a large bowl combine the sugar cookie mix, butter, egg, and lemon peel. Stir until well combined.1 pouch dry sugar cookie mix, ½ cup butter, 1 egg, 1 teaspoon grated lemon peel
- Press the dough into the bottom of the pan. Bake for 15 minutes and then cool for 10 minutes.
- In another mixing bowl using an electric mixer, beat the cream cheese, sugar, lemon peel, eggs, and lemon juice until smooth. Set aside ¼ cup of the cheesecake filling.2 8-ounce packages cream cheese, ½ cup sugar, 1 tablespoon grated lemon peel, 2 eggs, 1 lemon
- Pour the rest of the cheesecake filling over the cookie crust.
- Smash up the raspberries and press them through a sieve or small strainer to create the raspberry puree.1 cup fresh raspberries
- Combine the raspberry puree with the reserved cheesecake filling.
- Drop the raspberry mixture all over the cheesecake layer in the pan and swirl with a knife to get a nice swirled pattern.
- Bake for 30 to 35 minutes or until filling is just set. Set aside to cool slightly.
- Refrigerate for 2 hours or until cooled completely. Slice into 12 slices.
- Garnish with more raspberries and lemons to your liking. Serve and enjoy!Lemons and raspberries
Notes
- Shortcut Hero: Using a store-bought cookie mix saves time, but feel free to get creative! Try a gingersnap or graham cracker mix for a different flavor profile.
- Brown Sugar Boost: Swap some white sugar in the mix for brown sugar to add a deeper, richer taste to your crust.
- Pre-Bake Perfection: Don’t skip pre-baking the crust! This ensures it sets properly and won’t become soggy from the cheesecake filling.
- Room Temperature is Key: Letting your cream cheese soften completely is essential. Lumpy cream cheese translates to lumpy cheesecake! Take it out of the fridge 30 minutes before you start mixing.
- Fresh is Best: While frozen raspberries work in a pinch, fresh berries deliver the most vibrant flavor and texture. Thaw frozen berries completely and drain any excess liquid before using.
- Seedless Sensation: Straining your mashed raspberries removes the seeds, creating a smoother, more elegant filling. But hey, if you don’t mind a bit of texture, go for it!
- Don’t Overbake: These bars shouldn’t be completely firm in the center. A slight jiggle is okay, and they’ll firm up as they chill.
- Clean Cuts: Warm your knife under hot water before slicing for clean, neat cuts.
Nutrition
SERIOUSLY GOOD
DESSERTS!
Dessert First is a collection of 61 RECIPES to show you that you can make beautiful, impressive desserts right in your own kitchen, no matter your skill level.
Immediate eBook download. No physical book available.
Includes ad-free recipes like:
∙ Lemon Pound Cake
∙ Key Lime Bars
∙ Boston Cream Pie
∙ No-Bake Chocolate Lasagna
∙ Raspberry Cheesecake
...and much more!
Recipe Notes and Expert Tips
- Shortcut Hero: Using a store-bought cookie mix saves time, but feel free to get creative! Try a gingersnap or graham cracker mix for a different flavor profile.
- Brown Sugar Boost: Swap some white sugar in the mix for brown sugar to add a deeper, richer taste to your crust.
- Pre-Bake Perfection: Don’t skip pre-baking the crust! This ensures it sets properly and won’t become soggy from the cheesecake filling.
- Room Temperature is Key: Letting your cream cheese soften completely is essential. Lumpy cream cheese translates to lumpy cheesecake! Take it out of the fridge 30 minutes before you start mixing.
- Fresh is Best: While frozen raspberries work in a pinch, fresh berries deliver the most vibrant flavor and texture. Thaw frozen berries completely and drain any excess liquid before using.
- Seedless Sensation: Straining your mashed raspberries removes the seeds, creating a smoother, more elegant filling. But hey, if you don’t mind a bit of texture, go for it!
- Don’t Overbake: These bars shouldn’t be completely firm in the center. A slight jiggle is okay, and they’ll firm up as they chill.
- Clean Cuts: Warm your knife under hot water before slicing for clean, neat cuts.
How to Store Raspberry and Lemon Cheesecake Bars
Baked a whole pan and wondering how to save those leftover cheesecake bars for later? Look no further than your trusty fridge!
- Chilling is Key: Cheesecake is a dairy-based dessert, so storing it in the refrigerator is essential. Wrap any leftover bars tightly in plastic wrap or aluminum foil to prevent them from drying out or absorbing fridge odors.
- Container Conundrum: No plastic wrap? No problem! Store leftover bars in an airtight container for optimal freshness.
- Fridge Bliss: Leftover bars will keep well in the refrigerator for up to 4 days. That means you can savor these beauties throughout the week, or share them with friends (if you’re feeling generous!).
- Thinking about extending their lifespan even further? These bars freeze beautifully! Wrap them tightly in plastic wrap and then again in aluminum foil. Pop them in the freezer for up to 2 months for a future cheesecake fix. Just thaw overnight in the refrigerator before indulging.
I love how bright and cheerful these cheesecake bars are, and if you love color, then you must check out this amazingly colorful Hippie Tie Dye Cake.
More Easy Recipes for You to Try at Home
Have these delicious cheesecake bars got you hungry for more? Why not take a look at these irresistible desserts?