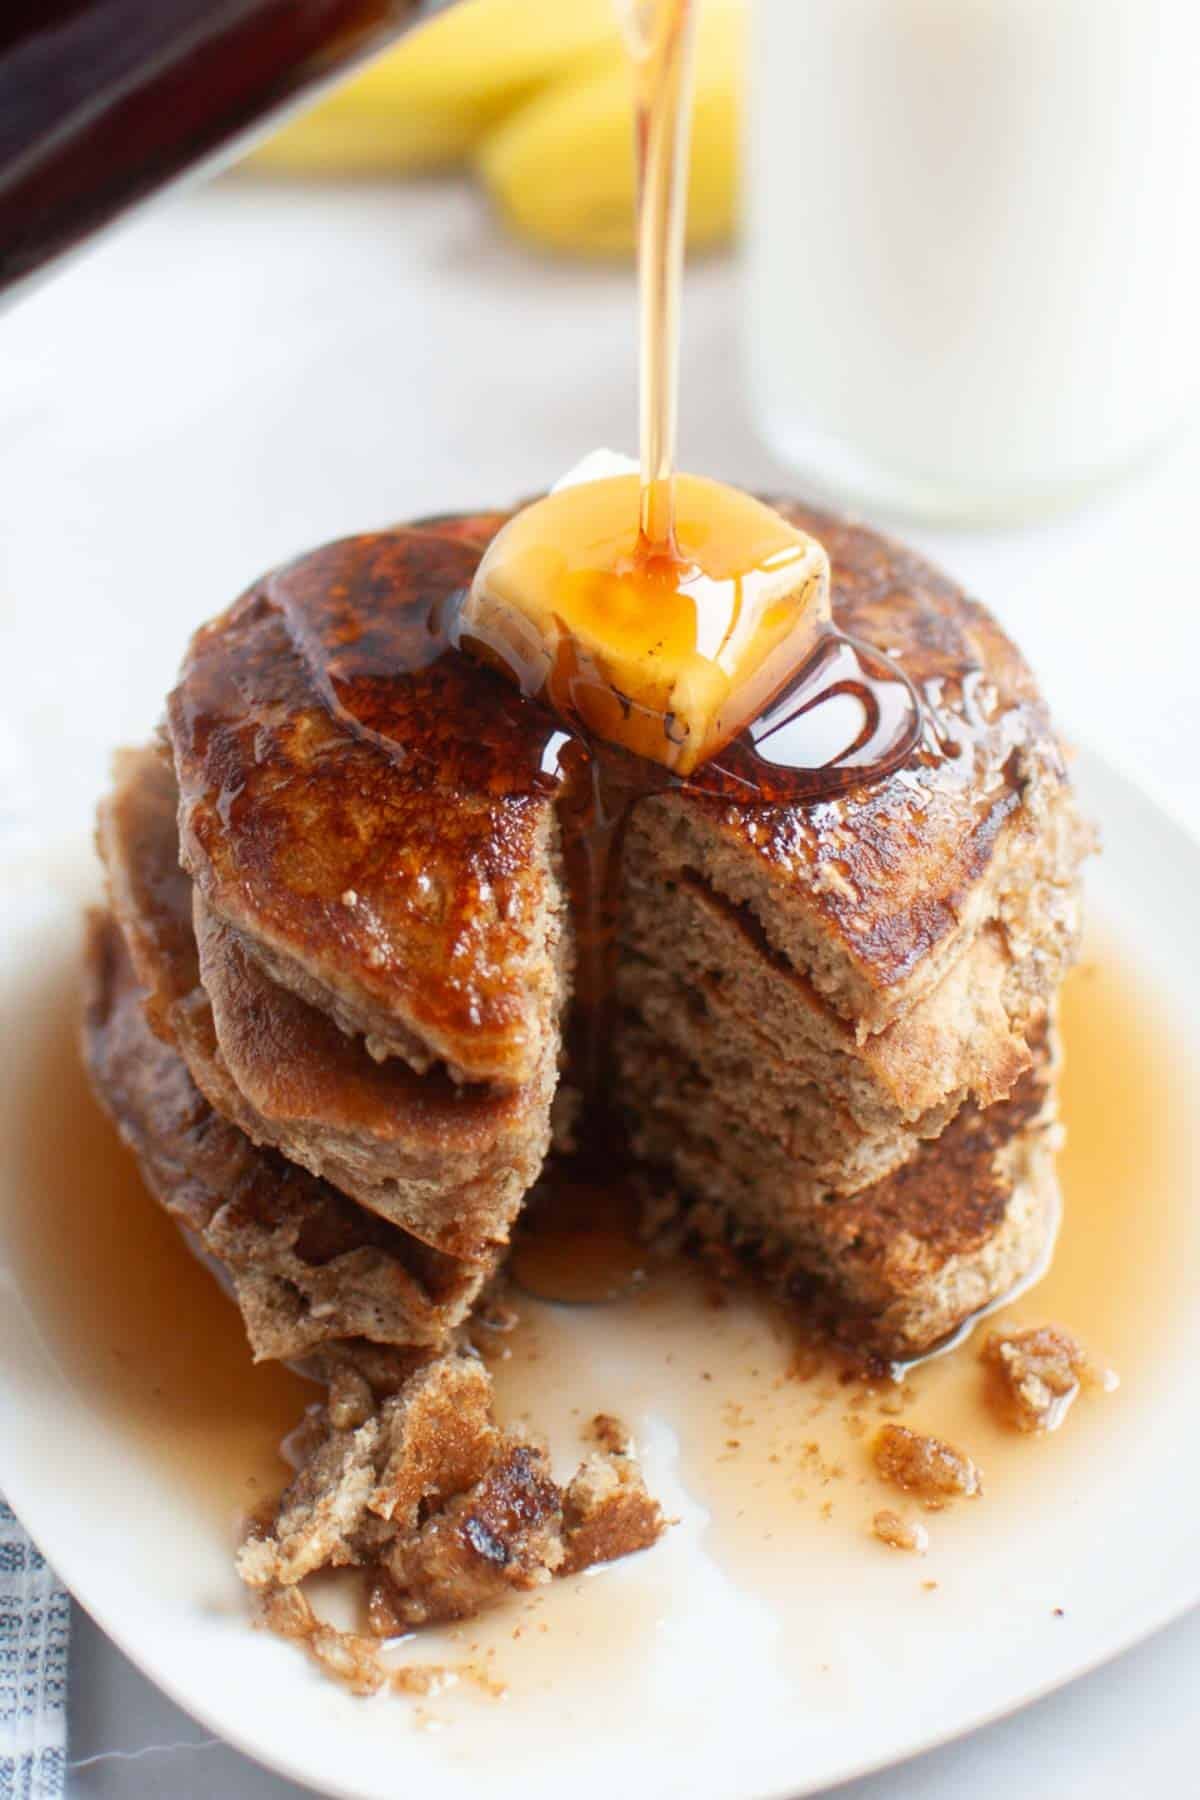
Buttermilk Oatmeal Pancakes

Brown sugar caramelizes on the griddle, turning these Buttermilk Oatmeal Pancakes into something you’ll crave all week. The buttermilk makes them fluffy and tender, while the oats add a satisfying chew that regular pancakes can’t match. Whole wheat flour sneaks in nutrition without making it heavy.

This post contains affiliate links. As an Amazon Affiliate, if you purchase through those links, I earn a commission. Thank you!
I make these every Saturday morning for my family, and they’re always on the menu for birthday breakfasts and Mother’s Day brunch. They’re also perfect for lazy Sunday mornings when you want something heartier than regular pancakes. Store leftovers in the fridge for up to 3 days or freeze them for up to 2 months between parchment paper sheets.
Ingredients You’ll Need
You’ll need all the ingredients shown in the photograph below.

How to Make Buttermilk Oatmeal Pancakes with Step-By-Step Instructions
Scroll down for the full recipe card containing a full printable recipe and measurements in both US customary and metric units.
Let me walk you through making these pancakes from start to finish.
Mix Your Dry Ingredients
Grab a medium mixing bowl and stir together the oats, whole wheat flour, all-purpose flour, baking soda, salt, and brown sugar. Make sure everything is evenly distributed so you don’t end up with pockets of powder.
I love using my glass mixing bowl for this because it’s transparent, so I can easily see if the ingredients are mixed.
Combine the Wet Ingredients
In a separate large bowl, whisk buttermilk, egg, and melted butter until smooth. You want these completely combined so the egg is fully incorporated. A balloon whisk works perfectly here, making the mixture smooth in seconds.
Bring the Batter Together
Pour the wet ingredients into the oat mixture. Stir gently until just moistened; do not overmix. You should still see some small lumps in the batter, and that’s exactly what you want.
Overmixing develops the gluten, making your pancakes tough rather than fluffy. A few streaks of flour are fine.

Heat Your Cooking Surface
Heat a greased cast-iron skillet, large pan, or griddle over medium heat. I use my cast-iron griddle because it distributes heat evenly and gives you those beautiful golden brown spots.
Let it heat for 3-4 minutes before adding any batter, so it’s properly preheated.
Cook the First Side
Ladle batter using a ⅓-cup measuring cup or a pancake batter dispenser for perfectly round pancakes. For smaller pancakes, use a ¼-cup measure instead.
I always grab this batter dispenser because it gives me consistent sizes every time, and it makes flipping easier.
Cook until the top of the batter bubbles and the edges look set, about 2-3 minutes. You’ll know they’re ready to flip when those bubbles pop, leaving little holes that don’t fill back in.

Flip and Finish
Flip the pancakes with a spatula and cook until the other side is golden brown, about 2 minutes more. Keep finished pancakes warm on a baking sheet in a 200°F oven while you cook the rest of the batch.
An oven thermometer keeps your oven at the right temperature, so the pancakes stay warm without drying out on the counter.
Serve Them Up
Stack them high, top with butter, and drizzle with warm syrup. Add berries, chocolate chips, nuts, or a dollop of yogurt or whipped cream if you’re feeling fancy.
You can also try lingonberry preserves warmed with a touch of water for a tart Scandinavian twist. Enjoy!
If you’re taking these to a brunch potluck or church breakfast, an insulated casserole carrier keeps them warm. I stack them between parchment paper sheets, pack them in a container, and zip them into the carrier.
They arrive just as warm as when they left my kitchen, and everyone thinks I made them on-site. These are always a hit at family reunions and breakfast gatherings because they travel so well and actually taste homemade.
Equipment
Ingredients
- ½ cup plus 2 tablespoons quick-cooking oats
- ½ cup whole wheat flour
- ½ cup all-purpose flour
- ½ teaspoon baking soda
- ½ teaspoon salt
- ⅓ cup packed brown sugar
- 1 large egg
- 2 tablespoons melted butter
- 1 cup buttermilk
Instructions
- In a medium bowl, stir together the oats, whole wheat flour, all-purpose flour, baking soda, salt, and brown sugar.½ cup plus 2 tablespoons quick-cooking oats, ½ cup whole wheat flour, ½ cup all-purpose flour, ½ teaspoon baking soda, ½ teaspoon salt, ⅓ cup packed brown sugar
- In a separate bowl, beat the egg with the buttermilk and melted butter until smooth.1 large egg, 2 tablespoons melted butter, 1 cup buttermilk
- Pour the wet ingredients into the dry mixture. Stir gently until just moistened—do not overmix.
- Heat a greased cast-iron skillet or griddle over medium heat. Pour batter using a ⅓ cup measuring cup or a pancake batter dispenser (for perfectly round pancakes!). Cook until bubbles form on top and edges look set, about 2–3 minutes. Flip and cook until the other side is golden brown, about 2 minutes more.
- Stack them high, top with butter, and drizzle with warm syrup. Add fruit, nuts, or a dollop of whipped cream if you’re feeling fancy.
Notes
- Customize with simple swaps: Add 1 teaspoon vanilla extract to the wet ingredients for extra depth, use coconut oil instead of butter, or make your own buttermilk substitute with 1 cup milk plus 1 tablespoon vinegar.
- Let the batter rest for 5 minutes: This allows the oats to absorb moisture and the baking soda to start working, which creates fluffier pancakes with better texture.
- Get your pan temperature right: Let your hot pan preheat for 3 to 4 minutes over medium heat or medium-high heat if your stovetop runs cool, so the underside browns evenly without burning the brown sugar.
- Wait for bubbles before flipping: When bubbles form on the surface and the edges look set, the pancake is ready to flip. Flipping too early makes them fall apart.
- Keep pancakes warm in the oven: Set your oven to 200 degrees and place finished pancakes on a baking sheet while you cook the rest of the batch.
- Storage makes meal prep easy: Refrigerate leftovers for up to 3 days or freeze for up to 2 months. Reheat in the toaster or microwave for quick weekday breakfasts that taste homemade.
Nutrition
How to Store Leftovers
Let the pancakes cool completely on a wire rack before storing them, or they’ll get soggy from trapped steam. Once cool, stack them in an airtight container, separating each pancake with parchment paper, and refrigerate for up to 3 days. Just reheat in the microwave for 20-30 seconds or pop them in the toaster.
For longer storage, freeze the pancakes in a single layer on a baking sheet until solid, then transfer them to a freezer-safe glass container or zip-top bag. I like using a freezer glass container to keep them fresh.
They’ll keep for up to 2 months. Reheat frozen pancakes straight from the freezer in the toaster or microwave for a quick breakfast the next morning.
What to Serve With Buttermilk Oatmeal Pancakes
These hearty pancakes pair beautifully with vegetarian breakfast sausage or crispy hash browns for a classic diner-style breakfast. Fresh blueberries, sliced bananas, or sautéed apples add natural sweetness and a pop of color. A drizzle of warm maple syrup or honey is traditional, but you can also try peanut butter, almond butter, or a sprinkle of cinnamon sugar.
For a complete brunch spread, serve them alongside scrambled eggs, roasted tomatoes, or a fresh fruit salad. The oats make these filling enough to be the star of the meal, but they also work well as part of a bigger breakfast spread. Coffee, orange juice, or hot chocolate rounds out the meal perfectly.
More Easy Breakfast Recipes for You to Try at Home
I’ve got more morning favorites you should definitely try.