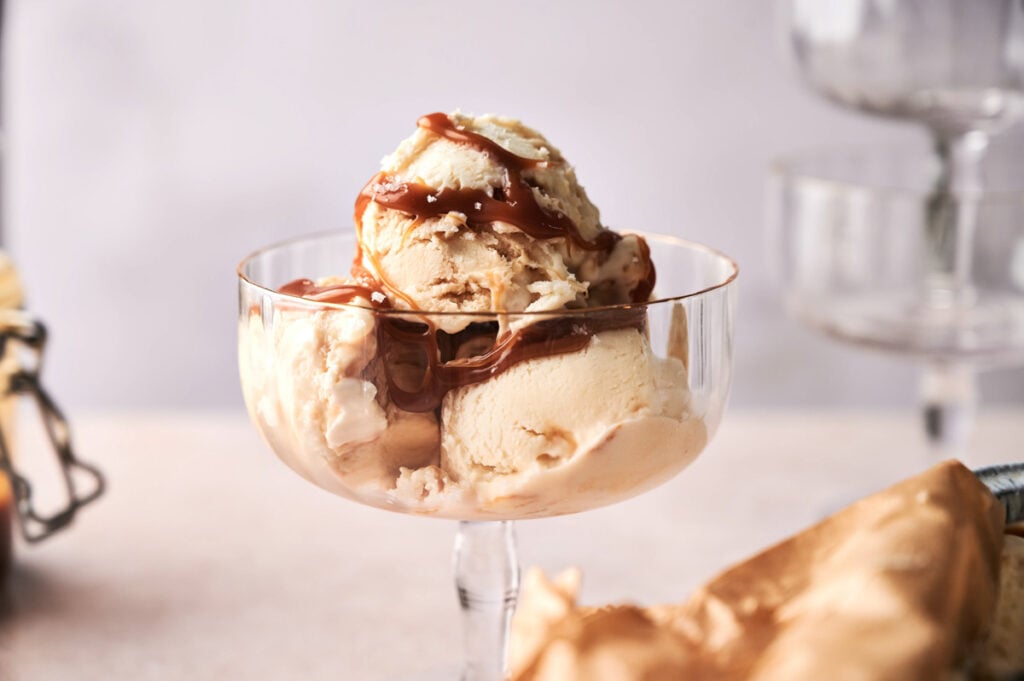
No-Churn Salted Caramel Ice Cream

My family goes crazy for No-Churn Salted Caramel Ice Cream every time I pull it out of the freezer. It’s ridiculously creamy with these beautiful caramel ribbons running through each scoop, and that hint of sea salt makes everything taste richer instead of just sugary. It scoops beautifully and tastes exactly like something from a high-end ice cream parlor.
This post contains affiliate links. As an Amazon Affiliate, if you purchase through those links, I earn a commission. Thank you!
I make it for birthdays, summer cookouts, potlucks, and pool parties because it impresses everyone without fuss. Kids and adults both love it, and it travels well in a cooler. The ice cream stays creamy in the freezer for up to two months, so you can make it ahead whenever you need an easy crowd-pleaser.
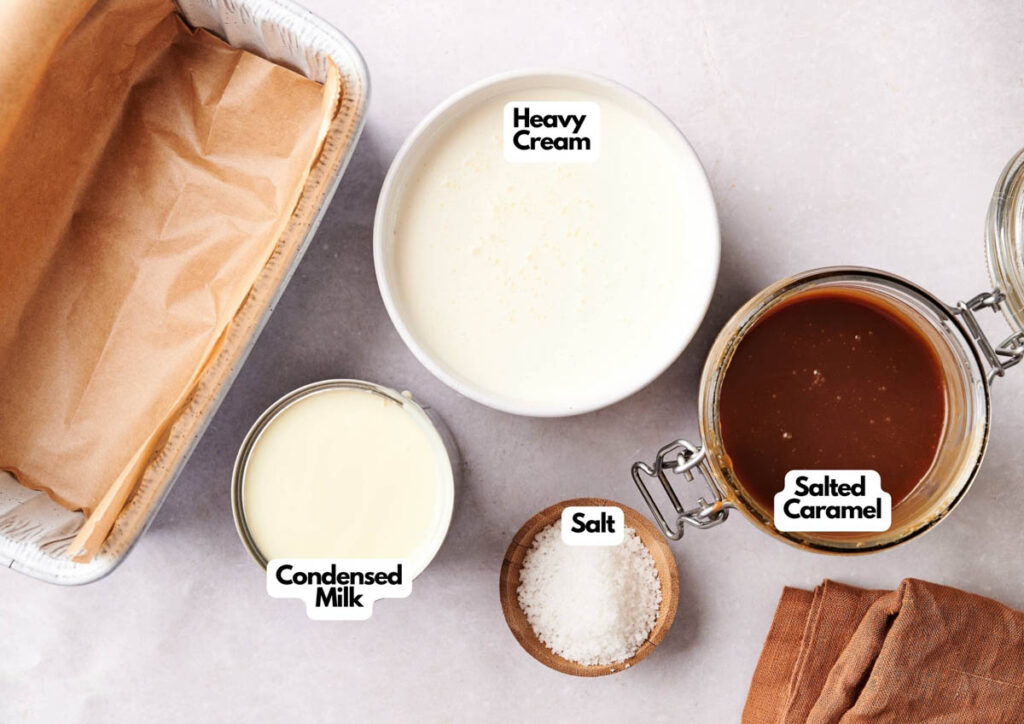
Ingredients You’ll Need
You’ll need all the ingredients shown in the photograph below.
How to Make No-Churn Salted Caramel Ice Cream with Step-By-Step Instructions
Scroll down for the full recipe card containing a full printable recipe and measurements in both US customary and metric units.
You’ll have creamy homemade ice cream ready in just five hours of freezer time.
Whip the Heavy Cream
Pour the heavy cream into a large bowl. Fit your electric hand mixer or stand mixer with the whisk attachment and start on low speed, then gradually increase to high. I like using this stand mixer; it makes this step effortless because you can walk away while it whips.
Keep whipping until you see stiff peaks form when you lift the whisk; this usually takes about three to five minutes. The ice cream base should hold its shape and look thick and fluffy.
Fold in the Sweetened Condensed Milk
Grab a silicone spatula and gently fold the sweetened condensed milk into the whipped cream. Use a folding motion: cut down through the center, scrape along the bottom, and lift the sides.
You want to keep as much air in the whipped cream as possible, so don’t stir too vigorously. Fold just until you don’t see any streaks of condensed milk.
SERIOUSLY GOOD
DESSERTS!

Dessert First is a collection of 61 RECIPES to show you that you can make beautiful, impressive desserts right in your own kitchen, no matter your skill level.
Immediate eBook download. No physical book available.
Includes ad-free recipes like:
∙ Lemon Pound Cake
∙ Key Lime Bars
∙ Boston Cream Pie
∙ No-Bake Chocolate Lasagna
∙ Raspberry Cheesecake
...and much more!
Add the Salted Caramel and Sea Salt
Pour in the salted caramel sauce and sea salt to the sweetened condensed milk mixture. Fold everything together again using the same gentle motion until you see caramel ribbons throughout the mixture.
Don’t overmix; you want those beautiful swirls to stay visible.
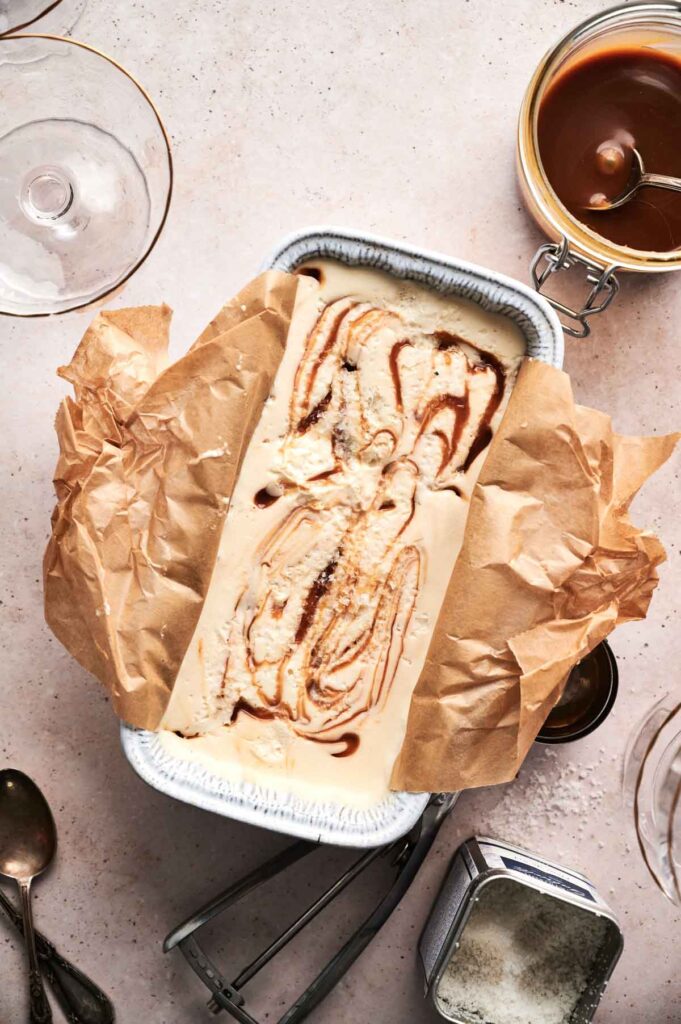
Transfer and Freeze
Scoop the ice cream mixture into a freezer-safe loaf pan or container. Drizzle extra caramel sauce over the top, then use a knife or offset spatula to create pretty swirls across the surface.
Sprinkle a small pinch of sea salt over everything for extra flavor and visual appeal. Cover tightly with the lid or plastic wrap, making sure it’s sealed well. Freeze for at least five hours until the ice cream is completely firm and scoopable.
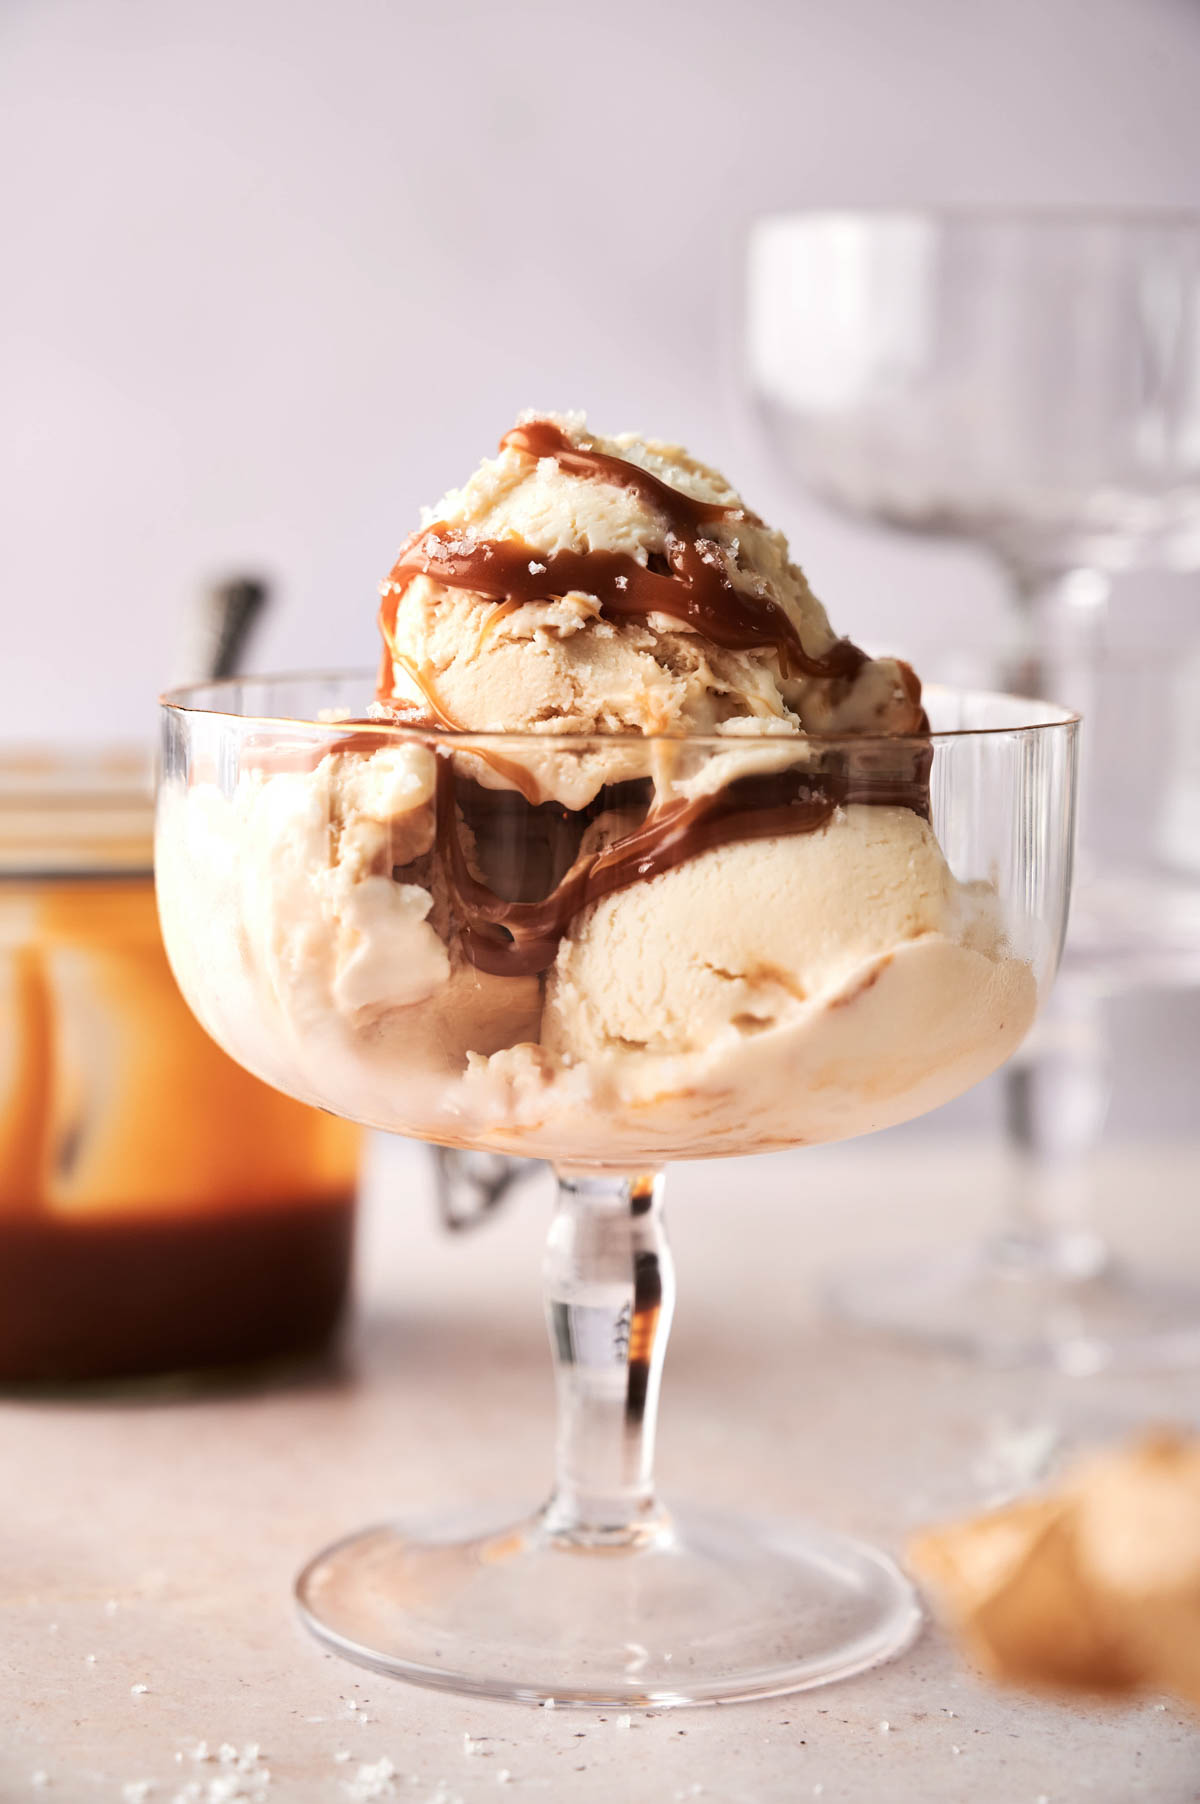
Scoop and Serve
Once fully frozen, use an ice cream scoop to portion out servings into these ice cream bowls. The texture should be smooth and creamy, with no ice crystals.
Serve immediately and enjoy the sweet-and-salty combination in every bite. Enjoy!
If you need to bring it to a party or potluck, transfer the ice cream to an ice cream tub with a tight-fitting lid; they’re designed specifically for homemade frozen desserts and stack easily in your freezer or cooler. Pack the container inside an insulated casserole carrier to keep it at a steady temperature.
Ingredients
- 2 cups heavy cream
- 1 cup sweetened condensed milk
- ½ cup salted caramel sauce (plus more for garnish)
- 1 teaspoon sea salt (plus extra for garnish)

Video
Instructions
- In a large mixing bowl, pour in the heavy cream. Using an electric mixer fitted with a whisk attachment, start whipping on low speed and gradually increase to high. Whip until stiff peaks form—this may take about 3 to 5 minutes.2 cups heavy cream
- Gently fold in the sweetened condensed milk using a spatula until fully blended, being careful not to deflate the whipped cream. Add the salted caramel sauce and sea salt. Fold again just until combined.1 cup sweetened condensed milk, ½ cup salted caramel sauce
- Transfer the mixture to a freezer-safe loaf pan or container. Drizzle additional caramel over the top and swirl gently with a knife or spatula. Sprinkle a small pinch of sea salt for extra flavor. Cover the container tightly with a lid or plastic wrap and freeze for at least 5 hours, or until firm.1 teaspoon sea salt
- Once fully frozen, scoop, serve, and enjoy your homemade salted caramel ice cream!
Notes
- Use cold heavy whipping cream: Start with heavy whipping cream straight from the fridge so it whips faster and holds stiff peaks better without deflating.
- Don’t overmix after adding condensed milk: Fold gently to keep the air you whipped into the cream; overmixing will deflate it and make the ice cream dense instead of light and creamy.
- Customize with extracts: Add one teaspoon of vanilla extract or vanilla bean paste when folding in the condensed milk to deepen the caramel, or try ½ teaspoon of peppermint extract with 2 to 3 drops of green food coloring for a festive salted caramel peppermint version.
- Swirl doesn’t fully blend the final caramel: When you drizzle caramel on top before freezing, swirl it gently instead of mixing it in thoroughly so you get beautiful ribbons and pockets of concentrated caramel flavor throughout.
- Adjust the salt level: Taste your caramel sauce first. If it’s already very salty, reduce the added sea salt to half a teaspoon to avoid overpowering the sweetness.
- Flash-freeze for portions: Scoop the ice cream into individual portions on a parchment-lined baking sheet and freeze for one hour before transferring to a container so you can grab single servings without scooping from a large block.
Nutrition
SERIOUSLY GOOD
DESSERTS!
Dessert First is a collection of 61 RECIPES to show you that you can make beautiful, impressive desserts right in your own kitchen, no matter your skill level.
Immediate eBook download. No physical book available.
Includes ad-free recipes like:
∙ Lemon Pound Cake
∙ Key Lime Bars
∙ Boston Cream Pie
∙ No-Bake Chocolate Lasagna
∙ Raspberry Cheesecake
...and much more!
How to Store Leftovers
Keep leftover ice cream in an airtight freezer container with a tight-fitting lid to prevent freezer burn and ice crystals. I use freezer-safe storage containers with secure lids to keep the texture creamy and fresh.
Press a piece of parchment paper directly onto the surface before sealing to create an extra barrier against air exposure. It’ll stay fresh in the freezer for up to two months and scoops beautifully straight from the freezer without needing to soften at room temperature first.
You don’t need to thaw it before serving, since the sweetened condensed milk keeps it creamy and scoopable even when frozen solid. If you want softer ice cream, let it sit at room temperature for about two to three minutes before scooping.
What to Serve With No-Churn Salted Caramel Ice Cream
Serve it alongside warm brownies, apple pie, or chocolate cake, where the cold ice cream melts into the warm dessert. The salted caramel flavor also pairs beautifully with fresh berries, especially strawberries and raspberries, that cut through the richness. I like topping scoops with crushed pretzels, chocolate chips, or extra caramel drizzle for added texture and flavor.
You can also make ice cream sandwiches by pressing scoops between chocolate chip cookies or graham crackers. The sweet-and-salty combination works perfectly with coffee drinks, too; try a scoop in your iced latte or affogato-style with hot espresso poured over the top.
More Easy Recipes for You to Try at Home
If you love this no-churn ice cream, you’ll want to try these other easy homemade dessert recipes.