Chocolate Pie

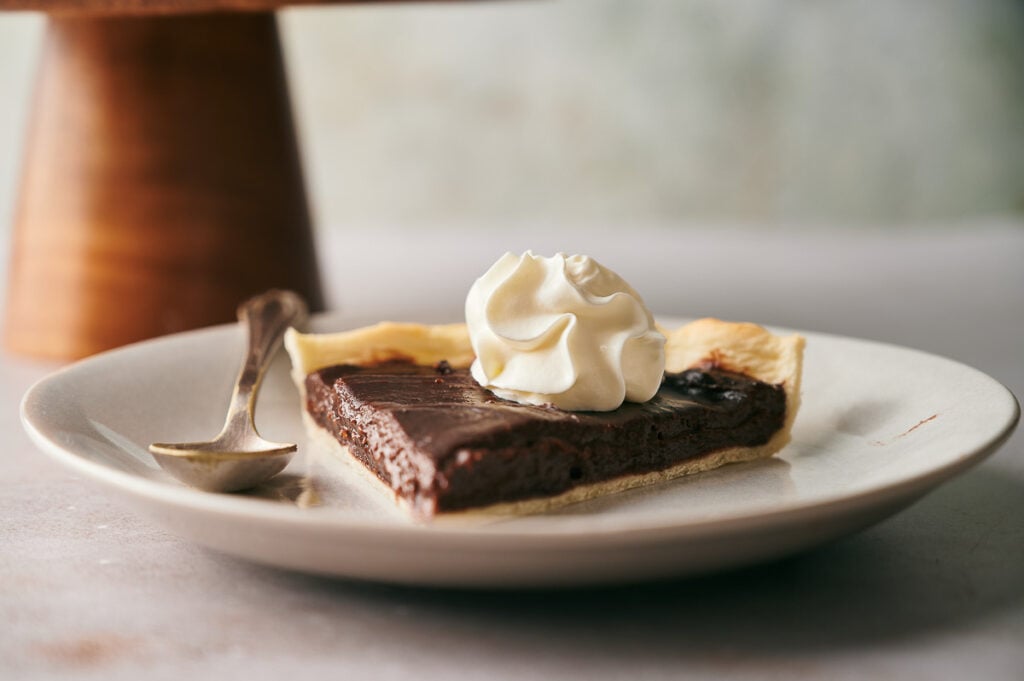
Chocolate Pie is one of those recipes I make when I want pure chocolate comfort without any fuss. The filling is thick and creamy like chocolate custard, the crust is golden and buttery, and the whipped cream topping makes it feel special. It’s classic comfort food, the kind of pie that never goes out of style.
This post contains affiliate links. As an Amazon Affiliate, if you purchase through those links, I earn a commission. Thank you!
I make it for birthdays, holiday gatherings, potlucks, and whenever I’m craving chocolate comfort. It’s perfect for making ahead since it needs to chill anyway, and it slices beautifully for serving. It feeds a crowd and stays fresh covered in the fridge for up to 3 days.
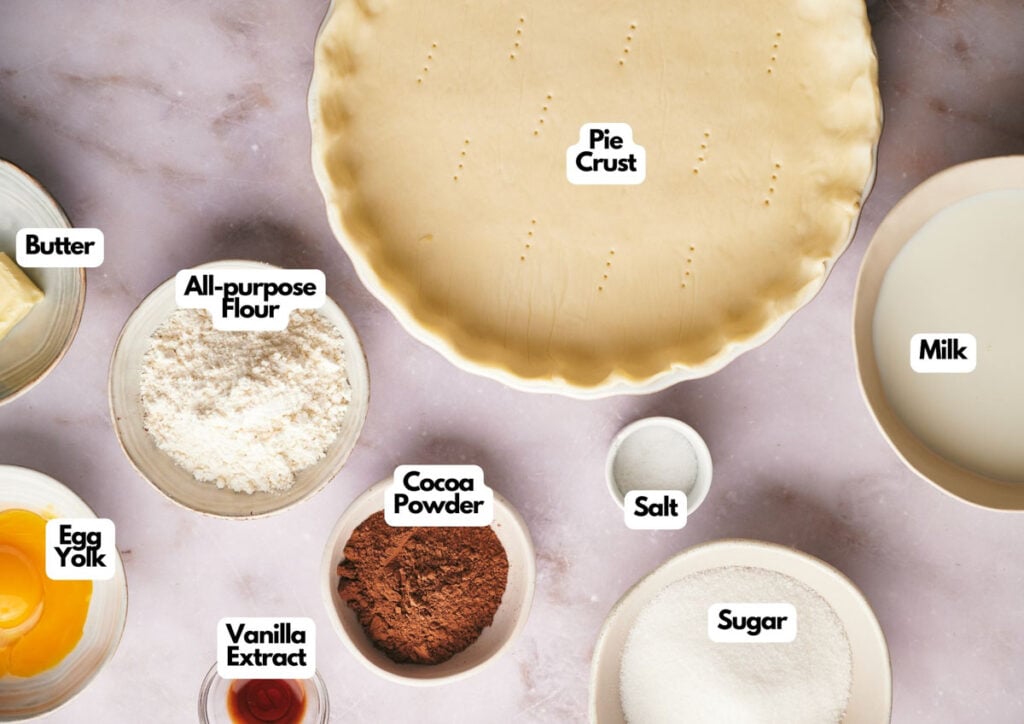
Ingredients You’ll Need
You’ll need all the ingredients shown in the photograph below.
How to Make Chocolate Pie with Step-By-Step Instructions
Scroll down for the full recipe card containing a full printable recipe and measurements in both US customary and metric units.
You’ll bake the crust first, cook the chocolate filling on the stovetop, then let everything chill in the fridge until it’s firm enough to slice.
Prepare and Bake the Pie Crust
Preheat your oven to 350°F/175°C. Using a fork, poke holes all over your 9-inch store-bought pie crust to prevent it from puffing up during baking. You could also start from scratch with a homemade pie crust; my flaky pie crust works well for so many desserts and pie recipes.
Bake in a ceramic pie dish until it turns golden brown, approximately 20 minutes. The holes let steam escape and keep the bottom flat, which gives you a stable pie shell base for the chocolate filling. Let the crust cool completely while you make the filling.
Cook the Chocolate Filling
In a small or medium saucepan, whisk together the all-purpose flour, cocoa powder, white sugar, salt, egg yolks, and whole milk until smooth.
Unsweetened cocoa powder gives an intense chocolate flavor, while Dutch-processed cocoa powder yields a less acidic taste, so use whichever you prefer. For milk, feel free to swap in evaporated milk or heavy cream if that’s what you have on hand; the filling will be thicker.
Place the pan over medium heat and cook, stirring constantly, until the mixture starts to bubble and thicken. You’ll notice it goes from thin and watery to thick and glossy as the flour activates. Cook for about 5 to 10 minutes, beating out any lumps that appear with your wire whisk.
The thickened chocolate filling should coat the back of a spoon when it’s ready. Remove from the heat and stir in the butter and vanilla extract until fully combined. The butter adds richness while the vanilla rounds out the chocolate flavor.
SERIOUSLY GOOD
DESSERTS!

Dessert First is a collection of 61 RECIPES to show you that you can make beautiful, impressive desserts right in your own kitchen, no matter your skill level.
Immediate eBook download. No physical book available.
Includes ad-free recipes like:
∙ Lemon Pound Cake
∙ Key Lime Bars
∙ Boston Cream Pie
∙ No-Bake Chocolate Lasagna
∙ Raspberry Cheesecake
...and much more!
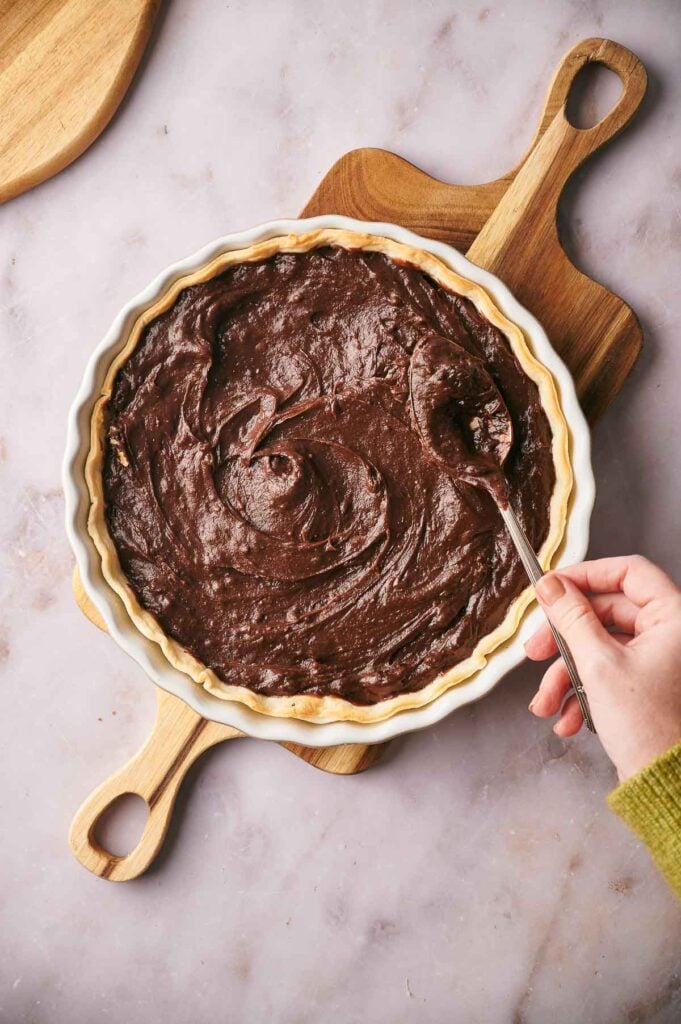
Fill and Chill the Pie
Pour the warm chocolate filling into your baked pie crust. Use a silicone spatula to smooth the top into an even layer, pushing the filling all the way to the edges so you don’t get air pockets. Place the pie in the fridge to chill for a minimum of 4 hours, but preferably overnight.
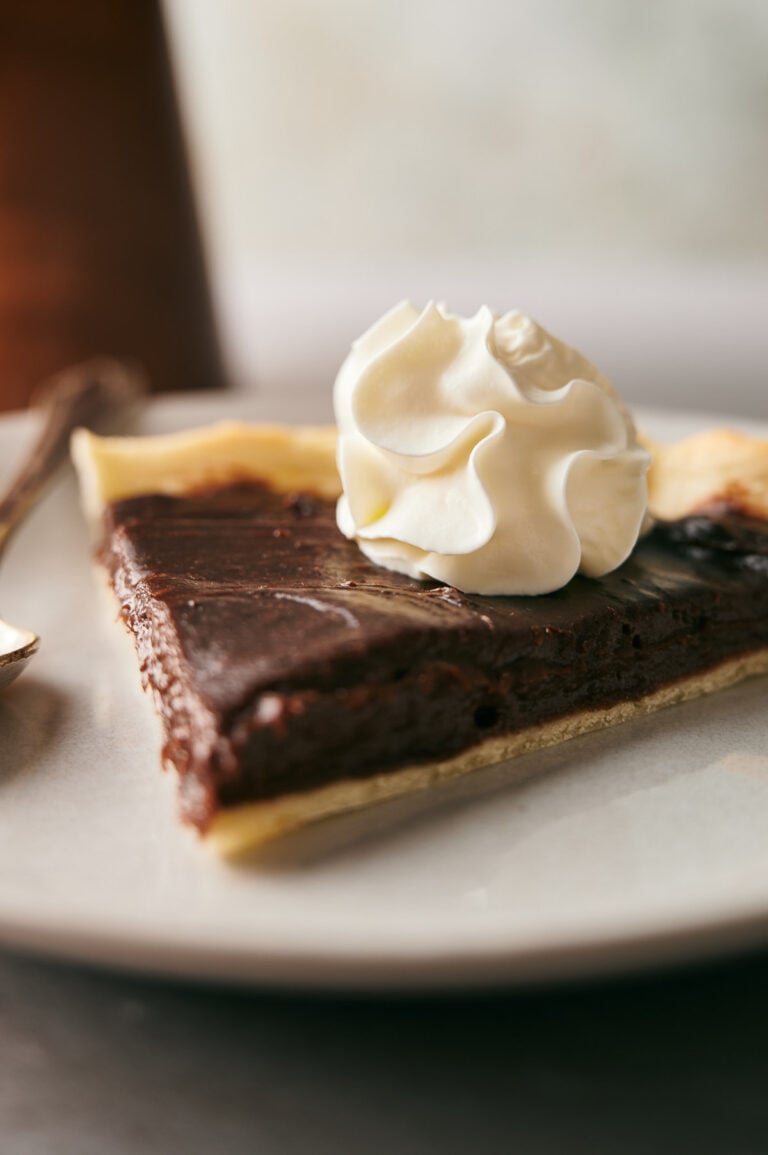
The longer chill time lets the filling set completely, making the filled, refrigerated pie crust easier to cut into clean slices. Using a pie server, lift and serve each slice of chocolate pie topped with whipped cream onto a serving plate.
Homemade whipped cream or store-bought whipped topping like Cool Whip works perfectly for this recipe. Either way, enjoy!
If you’re taking the pie to a potluck or gathering, keep it chilled in a pie carrier with a secure lid to prevent the filling from shifting during transport. Pack it in a cooler with ice packs if you’re traveling more than 30 minutes, especially in warm weather, so it stays cold to hold its shape.
Equipment
Ingredients
- 1 9-inch pie crust
- 5 tablespoons all-purpose flour
- 4 tablespoons cocoa
- ¾ cups sugar
- ¼ teaspoon salt
- 2 egg yolks
- 1½ cups whole milk
- 1 tablespoon unsalted butter
- ½ teaspoon vanilla extract
- Whipped cream to serve
Instructions
- Preheat your oven to 350°F/175°C
- Using a fork, poke holes in your pie crust and bake until it’s brown, approximately 20 minutes.1 9-inch pie crust
- In a small pan whisk flour, cocoa, sugar, salt, egg yolks, and milk, then over medium heat, cook until it starts to bubble and thicken, stirring constantly. Continue to cook until it thickens, approximately 5 – 10 minutes beating out any lumps that appear. Remove from the heat, and stir in the butter and vanilla until it is fully combined.5 tablespoons all-purpose flour, 4 tablespoons cocoa, ¾ cups sugar, ¼ teaspoon salt, 2 egg yolks, 1½ cups whole milk, 1 tablespoon unsalted butter, ½ teaspoon vanilla extract
- Pour the chocolate filling into your pie crust and use a rubber spatula to smooth the top. Place the pie in the fridge to chill for a minimum of 4 hours but preferably overnight. When ready to serve, serve with whipped cream. Enjoy your pie!Whipped cream
Notes
Nutrition
SERIOUSLY GOOD
DESSERTS!
Dessert First is a collection of 61 RECIPES to show you that you can make beautiful, impressive desserts right in your own kitchen, no matter your skill level.
Immediate eBook download. No physical book available.
Includes ad-free recipes like:
∙ Lemon Pound Cake
∙ Key Lime Bars
∙ Boston Cream Pie
∙ No-Bake Chocolate Lasagna
∙ Raspberry Cheesecake
...and much more!
How to Store Leftovers
Wait till the pie’s completely cool, then store it in an airtight container and keep it chilled in the fridge for up to 3 days. The filling will stay creamy and sliceable as long as it’s kept cold.
For longer storage, wrap individual slices without any topping in plastic wrap and aluminum foil, then place them in a freezer-safe container or bag. Freeze for up to 3 months.
Thaw overnight in the fridge before serving. The texture stays remarkably silky smooth after freezing, though the crust may soften slightly.
What to Serve With Chocolate Pie
It’s perfect on its own with just whipped cream on top, but a scoop of vanilla ice cream on the side makes it even better. The chocolate pudding filling has such great flavor that it doesn’t need much, but a drizzle of caramel sauce adds extra sweetness if you want it.
Fresh raspberries or strawberries cut through the richness nicely, and a cup of strong coffee pairs perfectly after dinner. You could even add a meringue topping if you’re feeling fancy, but honestly, the classic whipped cream version is all you need.
More Easy Recipes for You to Try at Home
I think you’ll enjoy these other easy pie recipes.
