
Crème Brûlée
 Add Preferred Source
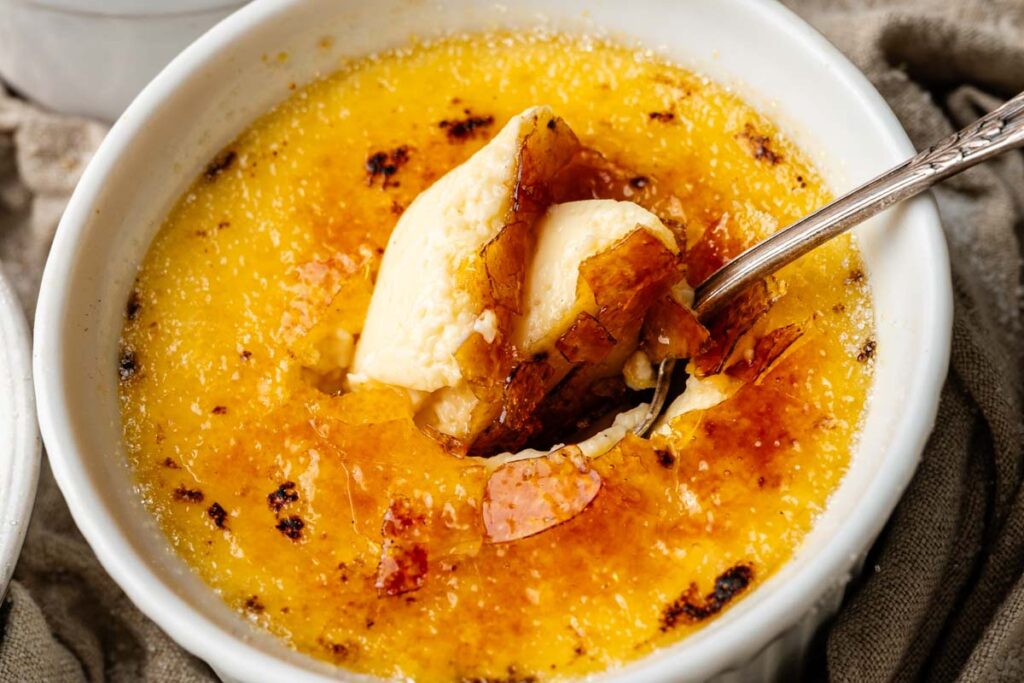
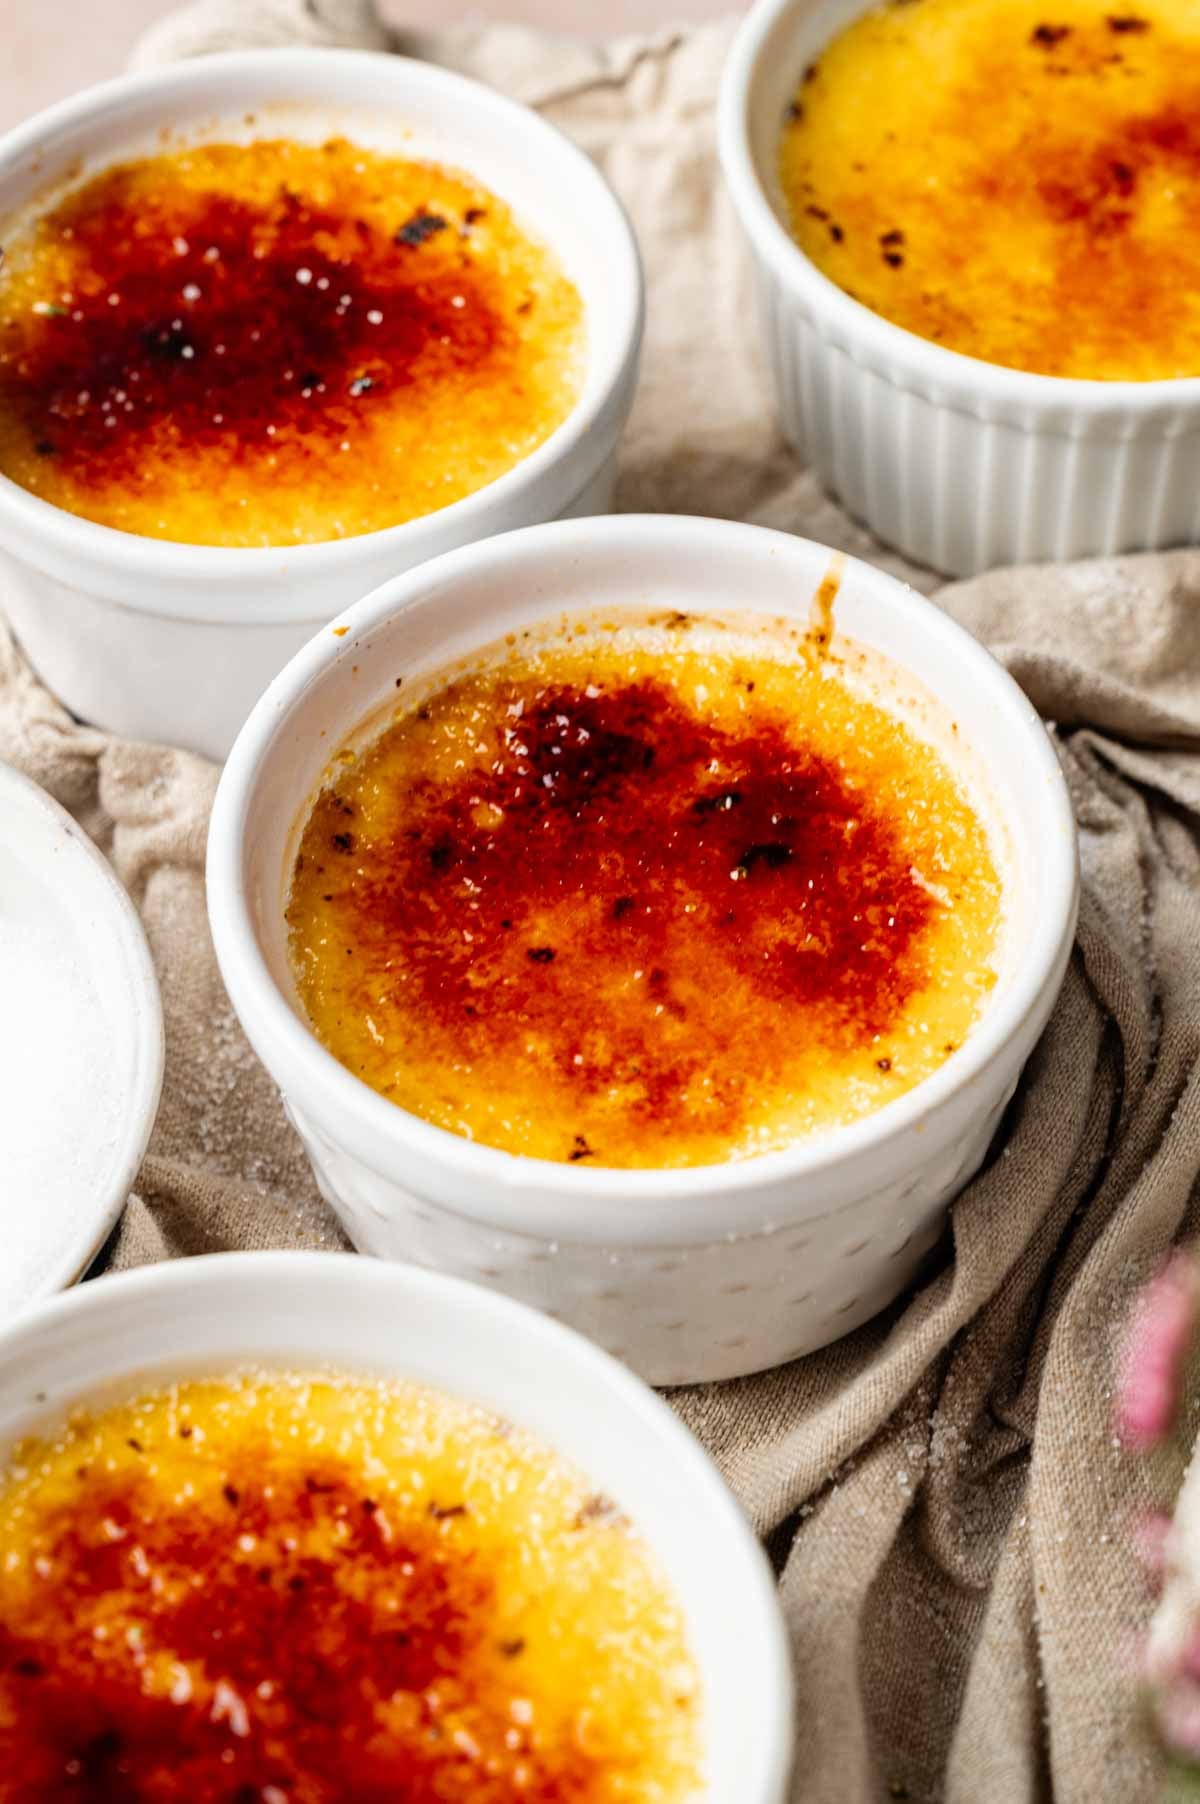
Crème brûlée looks like a restaurant dessert, but it’s really a slow-baked custard with a sugar top you crack with a spoon. I make it in ramekins with a water bath, and the whole thing turns on one moment: pulling the custards while their centers still wobble.
Underbake by a minute and they set as they chill. Overbake and the texture turns grainy, which no torch can rescue. Get that call right, and you’ve got a silky custard under a thin glass shell.
This post contains affiliate links. As an Amazon Affiliate, if you purchase through those links, I earn a commission. Thank you!
Why You’ll Love This Recipe
- Four ingredients do all the work: heavy cream, egg yolks, sugar, and a real vanilla bean. Nothing hides a shortcut here, so the vanilla is worth buying whole.
- It’s a make-ahead dessert by design. The custards need at least two hours in the fridge, so you bake them the day before and torch the tops right before serving.
- The water bath keeps the heat gentle and even, which is what gives you a custard that’s set at the edge and barely trembling in the middle.
- The sugar crust is the part people come for, and superfine sugar melts fastest under the torch for a thin, even crack rather than a thick candy layer.
Ingredients You’ll Need
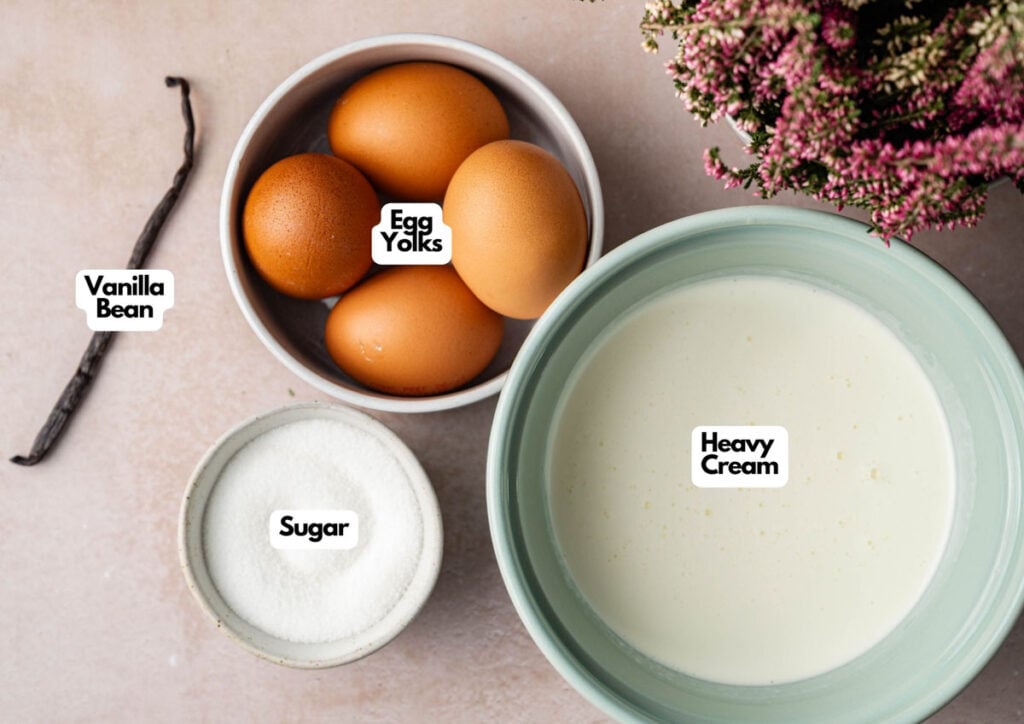
You’ll need all the ingredients shown in the photograph below.
- Heavy cream. The whole body of the custard. I warm 2 cups just to a simmer, never a boil, because boiling changes how the yolks set later.
- Egg yolks. Four yolks are what thicken this into custard rather than sweet cream. The whites aren’t used here, so save them for something else.
- Sugar. Half a cup, divided. A quarter cup goes into the yolks, and the rest tops the custards for the crust. For that top, superfine dissolves faster and more evenly than granulated, though granulated works if it’s what you have.
- Vanilla bean. A whole bean, split and scraped, is the flavor here. With these few ingredients, I use the whole bean instead of extract; the seeds give you the specks and the depth that make plain custard taste like crème brûlée. If you love a warm, aromatic top, a pinch of the sugar can carry that vanilla note right up into the crust.
How to Make Crème Brûlée
A complete printable recipe and the measurements in both US customary and metric are available in the recipe card below.
Warm the Cream and Vanilla
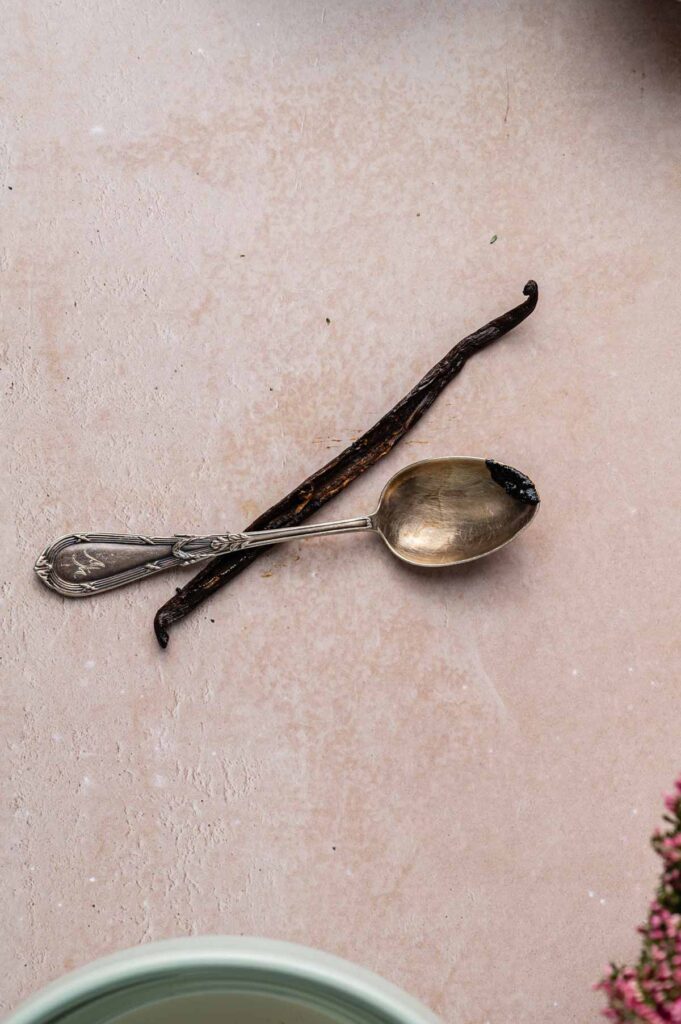
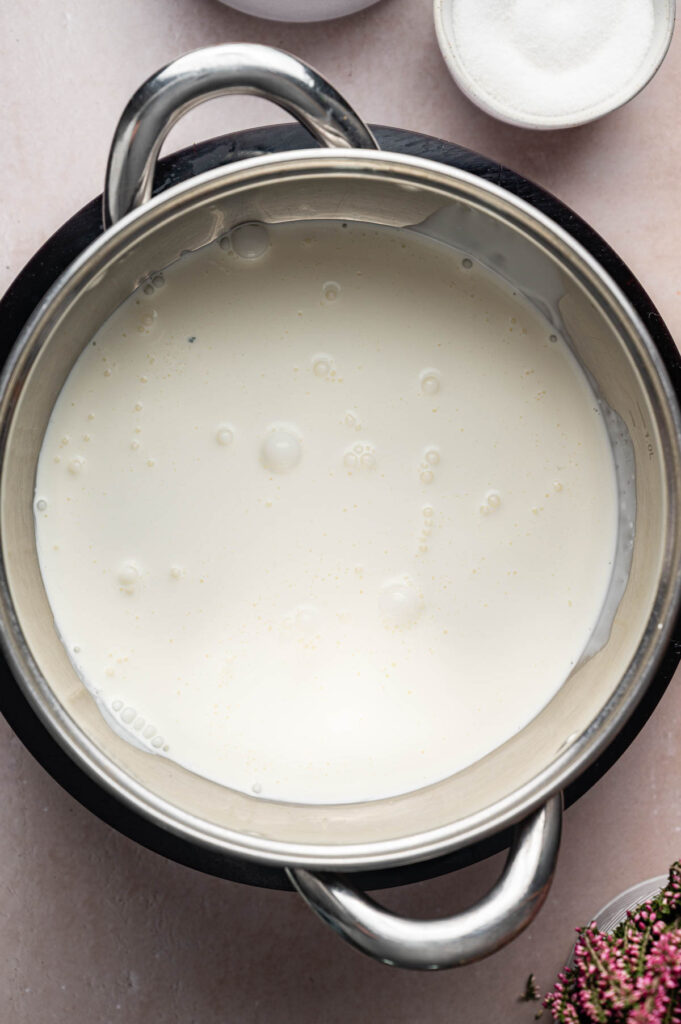
Split the vanilla bean lengthwise and scrape out the seeds. Warm the heavy cream in a saucepan over medium heat until it just starts to simmer, then take it off the heat. Don’t let it boil.
SERIOUSLY GOOD
DESSERTS!

Dessert First is a collection of 61 RECIPES to show you that you can make beautiful, impressive desserts right in your own kitchen, no matter your skill level.
Immediate eBook download. No physical book available.
Includes ad-free recipes like:
∙ Lemon Pound Cake
∙ Key Lime Bars
∙ Boston Cream Pie
∙ No-Bake Chocolate Lasagna
∙ Raspberry Cheesecake
...and much more!

Temper the Yolks
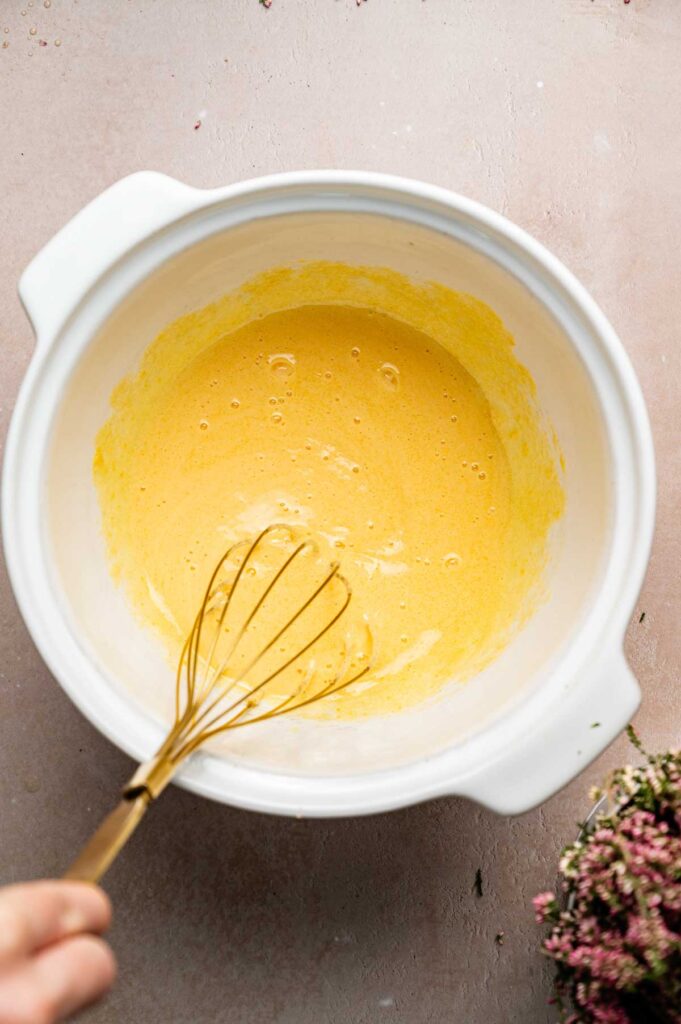
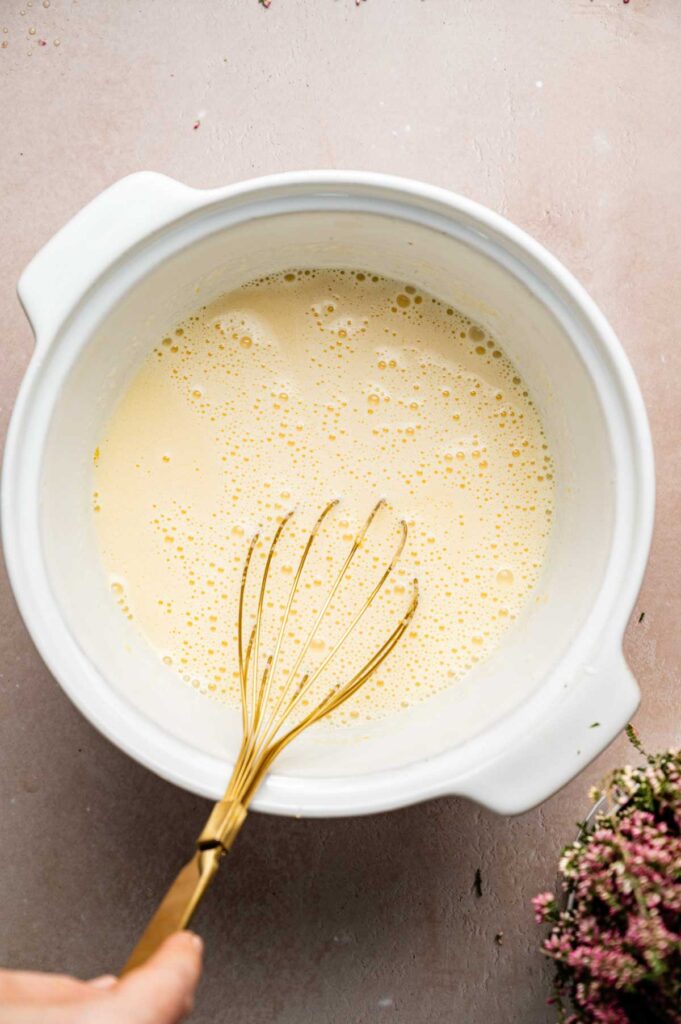
Whisk the yolks with a quarter cup of the sugar until pale and slightly thickened. Pour the warm cream into the yolks in a thin, steady stream, whisking the whole time, so the eggs warm up gradually instead of scrambling. Stir in the vanilla seeds.
Strain and Fill
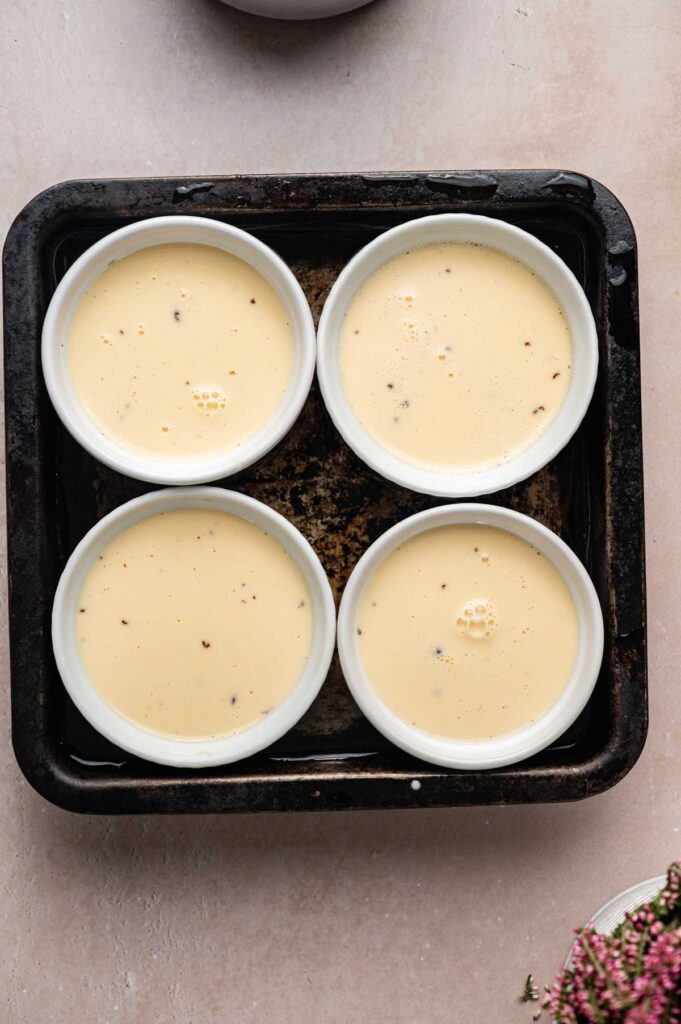
Pour the custard through a fine mesh sieve into the ramekins. Straining catches any set egg or stray pieces of pod, and it’s the difference between silky and slightly grainy even when you’ve tempered carefully.
Bake in a Water Bath
Set four ramekins in a deep baking dish and fill the dish with hot water halfway up their sides. Bake at 325°F for 35 to 40 minutes. They’re ready when the edges are set, but the centers still jiggle like loose Jell-O. They keep setting as they cool, so this is the moment to trust the wobble and stop.
Chill, Then Torch
Lift the ramekins out of the water and cool them to room temperature, then chill for at least two hours or overnight until fully set. It’s basically like my chocolate mousse made with real dark chocolate that needs the chill to firm up, just baked and capped with caramel instead of whipped.
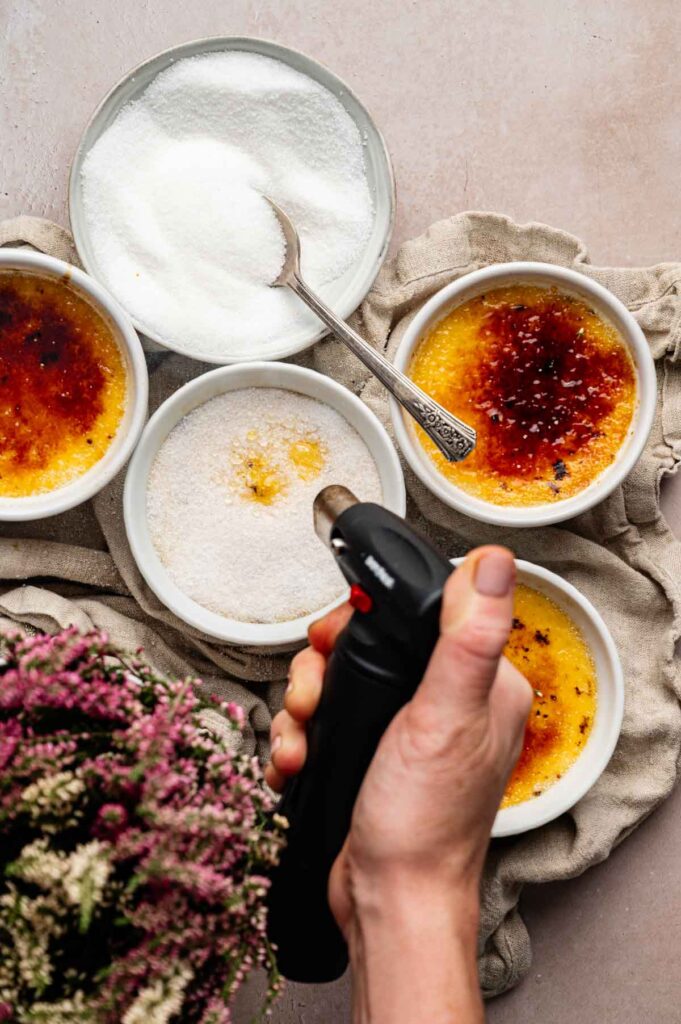
Just before serving, sprinkle a teaspoon or two of sugar over each and pass a kitchen torch over the top until it melts and turns golden and crisp.
SERIOUSLY GOOD
DESSERTS!
Dessert First is a collection of 61 RECIPES to show you that you can make beautiful, impressive desserts right in your own kitchen, no matter your skill level.
Immediate eBook download. No physical book available.
Includes ad-free recipes like:
∙ Lemon Pound Cake
∙ Key Lime Bars
∙ Boston Cream Pie
∙ No-Bake Chocolate Lasagna
∙ Raspberry Cheesecake
...and much more!
Recipe Notes and Expert Tips
- Temper slowly or you’ll get sweet scrambled eggs. Add the cream to the yolks in a thin stream while whisking. Dumping it in all at once cooks the yolks on contact.
- Always strain. Even a careful temper leaves a little cooked egg behind, and the sieve is what keeps the custard smooth.
- Judge doneness by the shake, not the clock. Edges firm, center still trembling. They set further off the heat, so an oven-set center means an overbaked, grainy custard.
- Superfine sugar makes the best crust. It melts faster and more evenly under the torch, giving you a thin, glassy shell and a clean crack. Granulated, raw, or brown sugar all still work, but the crust is thicker and less even.
Recipe Variations
- For the classic hot-top, cold-custard contrast, slide the torched ramekins into the freezer for about ten minutes before serving. I’ve tested this and like the way the cold custard meets the still-warm crust; it doesn’t change the recipe at all.
- Swapping the vanilla bean for a teaspoon or two of vanilla extract is supported when you can’t find a bean; use it off the heat so the flavor doesn’t cook off, and know you’ll lose the seed specks that mark a real crème brûlée.
- A coffee-scented version, steeping a little espresso or instant coffee into the warm cream, hasn’t been tested here. Coffee adds liquid and can mute the custard’s set if you overdo it, so treat it as an experiment rather than a straight swap.
How to Store Leftovers
These are easy to make ahead. Keep the custards covered and refrigerated in their ramekins for 2 to 3 days, and add the sugar and torch it only right before serving so the crust stays crisp.
Leftovers are a different question, since a torched top softens within an hour or two in the fridge as it draws moisture from the custard. They’re still good the next day; the crust just won’t crack the way it did fresh. Because this is an egg custard, keep it refrigerated and don’t leave it sitting out.
What to Serve With Crème Brûlée
This is rich, so I keep what’s around it simple. A handful of fresh berries or a few macerated strawberries on the side cuts the cream without competing with it.
If you’re building a dessert spread for a dinner, I’d pair it with something you can portion out small, like my individually portioned mini cheesecakes, so everyone gets their own of each rather than slicing into one big dessert at the table.
FAQs
Graininess almost always means the custard baked too long. Pull the ramekins while the centers still wobble, since they keep setting as they cool. Straining the custard before baking also removes any egg that set during tempering.
You can caramelize the tops under a broiler, but watch them constantly, as the sugar goes from melted to burnt in seconds and the heat can start to warm the custard underneath. A torch gives you far more control over just the surface.
Superfine sugar melts fastest and most evenly, so it gives you the thin, glassy shell and clean crack. Granulated works if that’s what you have; the crust is just a little thicker and less even.
Yes, and it’s the easiest way to serve them. Bake and chill the custards, keep them covered in the fridge for 2 to 3 days, and add the sugar and torch it right before serving so the crust is crisp.
More Chilled Desserts I Come Back To
If crème brûlée got you in the mood for a make-ahead dessert, here’s where I’d go next:
- Strawberry Cheesecake Recipe. When I need a proper baked, sliceable centerpiece instead of individual pots, this is the one, with a fresh strawberry topping that keeps it from feeling heavy.
- No-Bake Oreo Cheesecake. For the nights I don’t want to turn the oven on at all, this sets in the fridge and still feels like a real dessert.
- Crème Brûlée Cheesecake. My pick when I’m in the mood for crème brûlée but in bigger servings and sliceable form rather than portioned into ramekins.
- Easy No-Bake Biscoff Cheesecake Recipe. When I want that spiced, caramelized Biscoff flavor and the same make-ahead ease as this dessert.
Equipment
- Ceramic ramekins set on a deep baking pan

Video
Instructions
- Preheat the oven to 325°F (160°C). Place four ramekins in a deep baking dish.
- Split the vanilla bean lengthwise and scrape out the seeds. Set aside.1 vanilla bean
- Warm the heavy cream in a saucepan over medium heat until it just starts to simmer (don’t let it boil). Remove from heat.2 cups heavy cream
- In a bowl, whisk the egg yolks with ¼ cup sugar until pale and slightly thick. Slowly pour the warm cream into the yolk mixture, whisking constantly so the eggs don’t curdle. Stir in the vanilla seeds. Strain the custard through a fine mesh sieve, then pour evenly into the ramekins.½ cup sugar, 4 egg yolks
- Fill the baking dish with hot water until it reaches halfway up the sides of the ramekins.
- Bake for 35–40 minutes, until the edges are set but the centers still jiggle slightly.
- Remove the ramekins from the water bath and cool to room temperature. Chill for at least 2 hours or overnight until fully set.
- Sprinkle 1–2 teaspoons of sugar over each custard and use a kitchen torch to caramelize the tops until crisp and golden.
Notes
Nutrition
