Homemade Scones Recipe

There’s something satisfying about making Scones from scratch—especially when the dough comes together easily and bakes up into golden, tender wedges with just the right amount of sweetness. This recipe keeps things simple and gives you classic bakery-style texture without any complicated steps or fancy equipment.
This post contains affiliate links. As an Amazon Affiliate, if you purchase through those links, I earn a commission. Thank you!
Whenever I need something simple that works for both family and friends, these scones do the trick. They’re just the right kind of bake to make ahead, store for a couple of days, or freeze for later without losing quality. I’ll often serve them at breakfast or set them out when guests drop by—no fuss, just soft, buttery comfort in every bite.
Ingredients You’ll Need
You’ll need all the ingredients shown in the photograph below.

How to Make Scones with Step-By-Step Instructions
Scroll down for the full recipe card containing a full printable recipe and measurements in both US customary and metric units.
If you follow my simple instructions, you’ll see how easy it is to make tender, buttery scones at home with reliable results.
Mix the Dry Ingredients
In a large bowl, whisk together the flour, sugar, baking powder, and salt. This step helps distribute everything evenly, so you don’t end up with pockets of baking powder or sugar.
When combining large quantities of ingredients, I like using a mixing bowl with deep sides to keep flour, sugar, or other dry ingredients from flying everywhere. A fine mesh sifter also helps if your flour tends to clump.
Cut in the Cold Butter
Add the cold, cubed butter and use your fingertips or a pastry cutter to work it into the flour. If you don’t have a cutter, this heavy-duty dough blender makes it a breeze without melting the butter with your hands.
You’re aiming for a texture that looks like coarse crumbs with visible bits of butter—that’s what gives the scones their signature flakiness.
Combine Wet Ingredients
Make a well in the center of the flour mixture and add the buttermilk, vanilla extract, and egg. Stir gently with a spatula just until the dough holds together. If it seems too dry and crumbly, just add a splash more buttermilk.
It should feel thick, soft, and a little sticky, but not overly wet—just sticky enough to hold its shape without spreading out. I use a flexible silicone spatula here so I can fold everything together without overmixing or scratching my mixing bowl.
Knead the Dough
Turn the dough out onto a floured surface or a silicone baking mat to make cleanup easier and keep the dough from sticking. Gently knead it just until the flour is fully mixed in. Avoid overworking it, as too much kneading can make the scones tough instead of tender.
If the dough feels overly sticky or clings to your hands, sprinkle a little extra flour on top or underneath, adding just enough to make it easier to handle without drying it out.
Fold the Dough
To create those flaky layers, fold the dough in half, press it down lightly with your hands, and rotate it a quarter turn, about 90 degrees. Repeat this folding process 4 to 5 times.
This simple step helps build structure and layers into the dough, which is key to achieving the tender, slightly flaky texture that scones are known for.
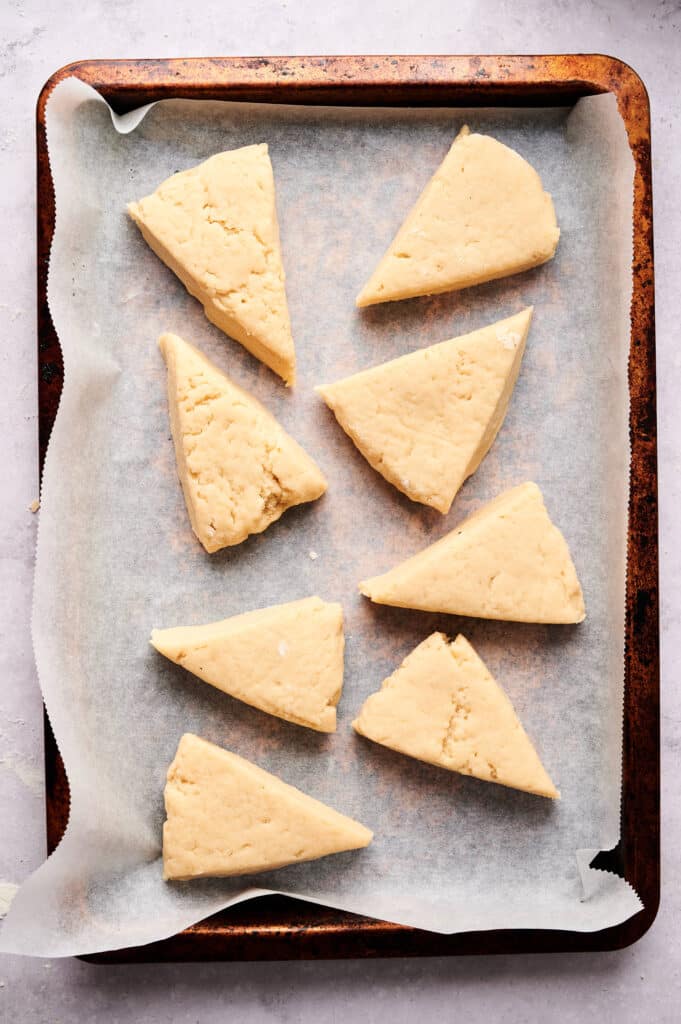
Shape, Chill, and Slice
Form the scone dough into a round disc that’s about 8 to 10 inches wide and 1.5 to 2 inches thick. Pop it into the fridge for about 5 to 10 minutes.
This quick chill helps the butter firm back up, which results in better lift in the oven. Once chilled, cut the disc into eight equal wedges using a sharp knife or a pizza cutter like this one to get clean edges without squashing the dough.
Bake Until Lightly Golden
Place the scone wedges on a baking sheet lined with parchment paper, spacing them apart so they have room to rise. I always use this nonstick sheet pan with pre-cut parchment sheets to make sure nothing sticks.
Bake at 400°F for 20 to 30 minutes, or until the tops are lightly golden brown and the scones feel set when gently pressed. Let them cool slightly for a few minutes before serving.
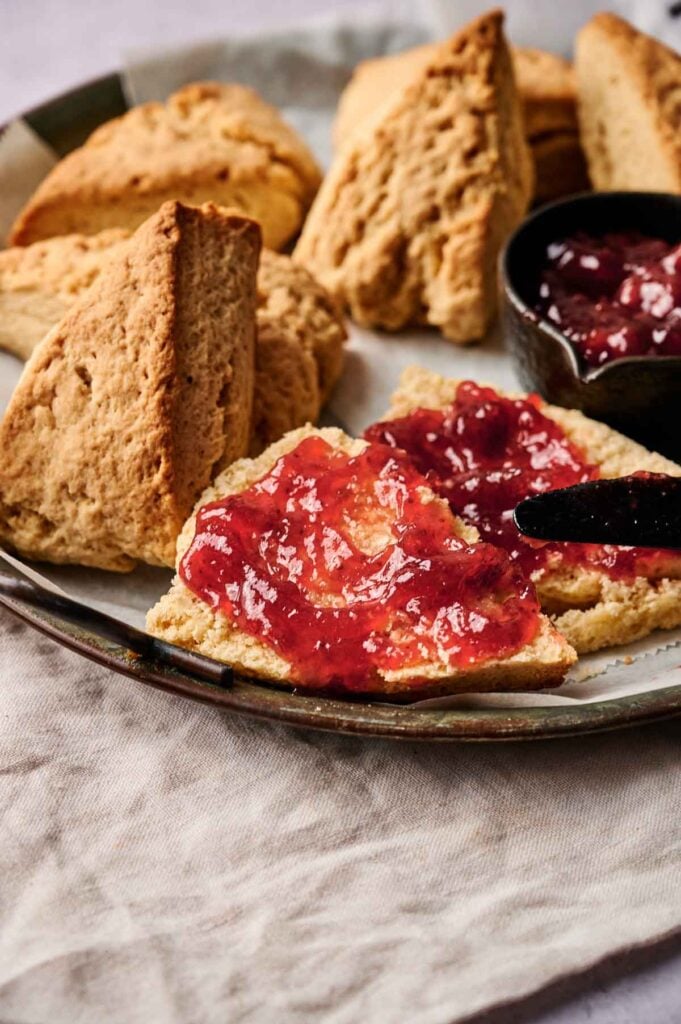
Enjoy as Is or With a Jammy Twist
Serve the scones warm on their own, or with a strawberry jam, cranberry jam, raspberry jam, or cherry jam—whatever’s your choice.
The tart-sweet flavor of the jam complements the buttery, tender scones—perfect for a classic, comforting bite. Enjoy!

Equipment
Ingredients
- 2 ¼ cups all-purpose flour
- ½ cup sugar
- 1 tablespoon baking powder
- ½ teaspoon salt
- ½ cup cold unsalted butter cubed
- ½ cup buttermilk
- 1 teaspoon vanilla extract
- 1 large egg
Video
Instructions
- In a large mixing bowl, whisk together the flour, sugar, baking powder, and salt. Add the cold, cubed butter and use your hands or a pastry cutter to work it into the flour until the mixture resembles coarse crumbs with pea-sized bits of butter.2 ¼ cups all-purpose flour, ½ cup sugar, 1 tablespoon baking powder, ½ teaspoon salt, ½ cup cold unsalted butter
- Make a well in the center of the mixture and add the buttermilk, vanilla extract, and egg. Gently stir with a spatula until the dough comes together. It should be thick and a bit sticky.½ cup buttermilk, 1 teaspoon vanilla extract, 1 large egg
- Transfer the dough onto a lightly floured surface or a silicone mat. Knead just until the flour is fully incorporated—avoid overworking it. If it’s too sticky, add a little extra flour as needed.
- To create those signature flaky layers, fold the dough in half, press it down gently, and rotate it 90 degrees. Repeat this folding and turning process 4 to 5 times.
- Shape the dough into a round disc, about 8 to 10 inches wide and 1.5 to 2 inches thick. Chill in the fridge for 5 to 10 minutes to help the butter firm back up.
- Once chilled, cut the dough into 8 even wedges using a sharp knife or pizza cutter. Place the scones on a parchment-lined baking sheet, leaving a few inches between each one.
- Preheat the oven to 400°F (200°C) and bake for 20 to 30 minutes, or until the tops are lightly golden and the scones are cooked through. Let them cool slightly before serving.
Notes
- Keep the Butter Cold: Cold butter is key to flaky scones. It creates steam in the oven, which helps the scones puff up and form tender layers.
- Don’t Overmix the Dough: Stir just until the dough comes together. Mixing too much will make the scones dense and chewy instead of light and tender.
- Customize with Add-Ins: Feel free to add chocolate chips for rich chocolate chip scones, or try blueberries if you want blueberry scones.
- Fold the Dough to Build Layers: Folding the dough a few times helps create visible layers, like you’d see in a bakery scone.
- Chill Before Baking: Even a quick chill in the fridge firms up the butter and helps the scones keep their shape as they bake.
- Space Out the Wedges: Leaving room between each piece on the baking sheet allows heat to circulate evenly and helps them brown properly.
- Brush Before Baking: Optional, but brushing the scones with cream adds a more defined crust; egg wash adds more shine and a deeper color.
- Watch for Golden Tops: When the tops turn light golden and the edges look set, they’re ready. If they’re still pale, give them a few extra minutes.
Nutrition
Recipe Notes and Expert Tips
I’ve added a few tips that help you get the most out of this scone recipe, especially if you’re making them for the first time:
- Keep the Butter Cold: Cold butter is key to flaky scones. It creates steam in the oven, which helps the scones puff up and form tender layers.
- Don’t Overmix the Dough: Stir just until the dough comes together. Mixing too much will make the scones dense and chewy instead of light and tender.
- Customize with Add-Ins: Feel free to add chocolate chips for rich chocolate chip scones, or try blueberries if you want blueberry scones.
- Fold the Dough to Build Layers: Folding the dough a few times helps create visible layers, like you’d see in a bakery scone.
- Chill Before Baking: Even a quick chill in the fridge firms up the butter and helps the scones keep their shape as they bake.
- Space Out the Wedges: Leaving room between each piece on the baking sheet allows heat to circulate evenly and helps them brown properly.
- Brush Before Baking: Optional, but brushing the scones with cream adds a more defined crust; egg wash adds more shine and a deeper color. I use this small silicone brush that’s easy to clean and doesn’t shed.
- Watch for Golden Tops: When the tops turn light golden and the edges look set, they’re ready. If they’re still pale, give them a few extra minutes.
How to Store Leftovers
Store your cooled scones in an airtight container at room temperature for up to 2 days. If you want to extend their freshness, they’ll keep in the fridge for about 5 to 7 days. I pack mine in this airtight glass container set to keep them soft and ready to go. To reheat, just pop them in a microwave or warm oven to bring back their fresh-baked texture.
You can also freeze scones—wrap each one individually in plastic wrap and place them in a zip-top freezer bag to protect them from freezer burn. They’ll stay good in the freezer for up to 2 to 3 months. Once you’re ready to enjoy them again, let them thaw overnight in the refrigerator or at room temperature for a few hours.
What to Serve With Scones
These sweet scones pair well with anything from a pat of butter, clotted cream, or your favorite jam to brighter flavors like fresh fruit or a simple lemon glaze made with lemon zest and powdered sugar.
If you’re in the mood for something sweeter, fold dried cranberries into the dough or drizzle honey over warm scones for a quick lift. Prefer savory? Treat them like biscuits alongside scrambled eggs, sharp cheese, or a slice of ham—whatever you’ve got on hand.
More Easy Recipes for You to Try at Home
I’ve rounded up a few more simple, rewarding bakes and comfort breakfast foods you can make anytime you’re in the mood to try something new.
