
Loaded Potato Skins
 Add Preferred Source

Loaded potato skins are usually the first plate emptied at a game day spread, and the ones I grew up seeing came buried under bacon. Mine leave it out, and the crisp shell with sharp cheddar and cool sour cream doesn’t miss it.
What makes or breaks them is crisping the hollow shells before any cheese goes on, so they stay sturdy instead of going soft under the toppings. Get that part right, and you have a bite that holds together, whether it’s a crowd or a quiet night in.

This post contains affiliate links. As an Amazon Affiliate, if you purchase through those links, I earn a commission. Thank you!
Why You’ll Love This Recipe
- They crisp up in the oven with no deep frying, so cleanup is just a baking sheet and a bowl.
- The shells do the structural work, which means you can pile on cheddar and sour cream without the whole thing collapsing.
- There’s no bacon, and nothing is missing, so the vegetarian at the party finally gets to eat the good appetizer.
- If you like a baked, stuffed party bite, these sit on the same tray as my easy baked stuffed mushrooms.
- You can bake and scoop the potatoes a day ahead, then crisp and top them right before people arrive.
Ingredients You’ll Need
You’ll need all the ingredients shown in the photograph below.
- Russet potatoes. Russets are the ones to use. Their thick skins crisp into a sturdy shell and the fluffy insides scoop out cleanly. Thin-skinned waxy potatoes tear when you handle them.
- Cheddar cheese. I use sharp cheddar and grate it off a block. A block melts smoother than the pre-shredded bags, which are dusted with anti-caking starch that keeps them from melting cleanly. Keep a little back to scatter over the top at the end.
- Sour cream. This goes on after baking, never before, so it stays cool against the hot cheese instead of sliding off.
- Green onions or chives. Either one works, chopped and added fresh at the end for a sharp note against all that richness.
- Olive oil, salt, and pepper. These coat the whole potato before it bakes. A thin coat of oil crisps the skin; too much just makes it greasy and soft.

How to Make Loaded Potato Skins
A complete printable recipe and the measurements in both US customary and metric are available in the recipe card below.
Bake the potatoes
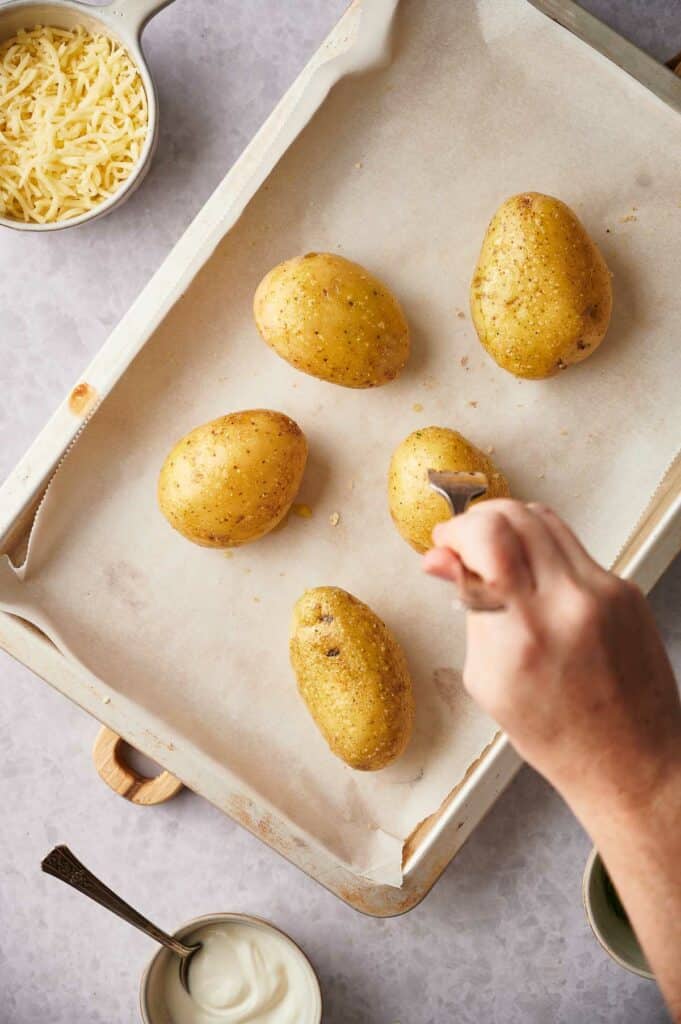
Scrub the russets, prick them in a few spots so steam can escape, and rub them with oil, salt, and pepper. Bake at 400°F (205°C) for 50 to 60 minutes, until a fork slides in easily and the skin looks dry and taut. That dry skin is what crisps later.
Scoop out the flesh
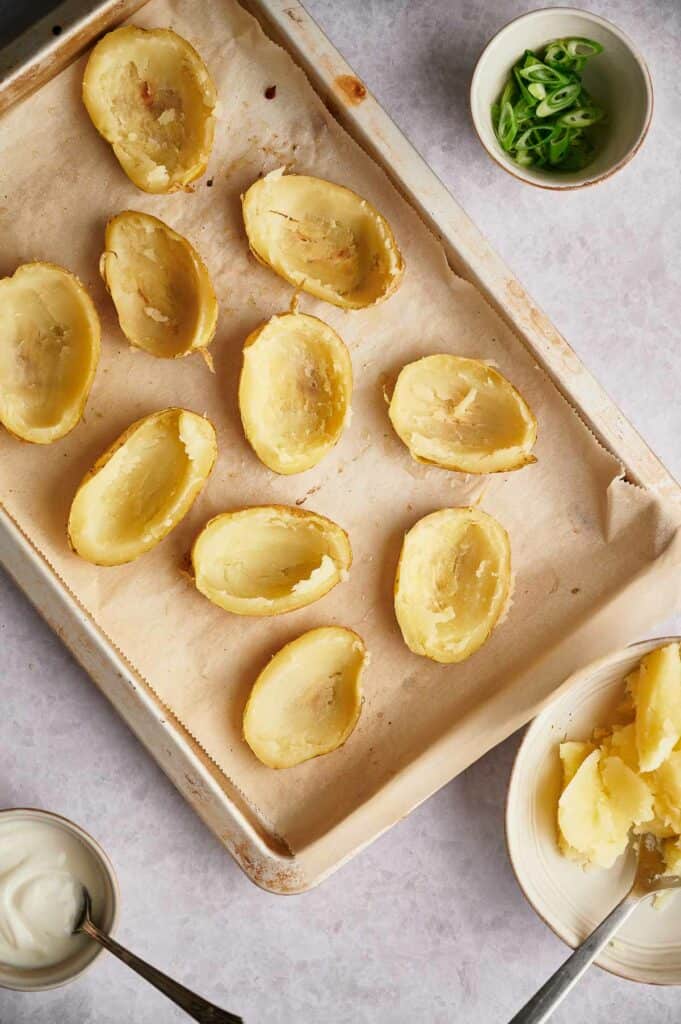
Halve the cooled potatoes lengthwise and scoop out most of the inside, leaving about a quarter inch against the skin so the shells keep their shape. An ice cream scoop makes quick work of it. Don’t throw the flesh away; it makes a small batch of mashed potato or a tray of crispy potato croquettes.
Crisp the shells
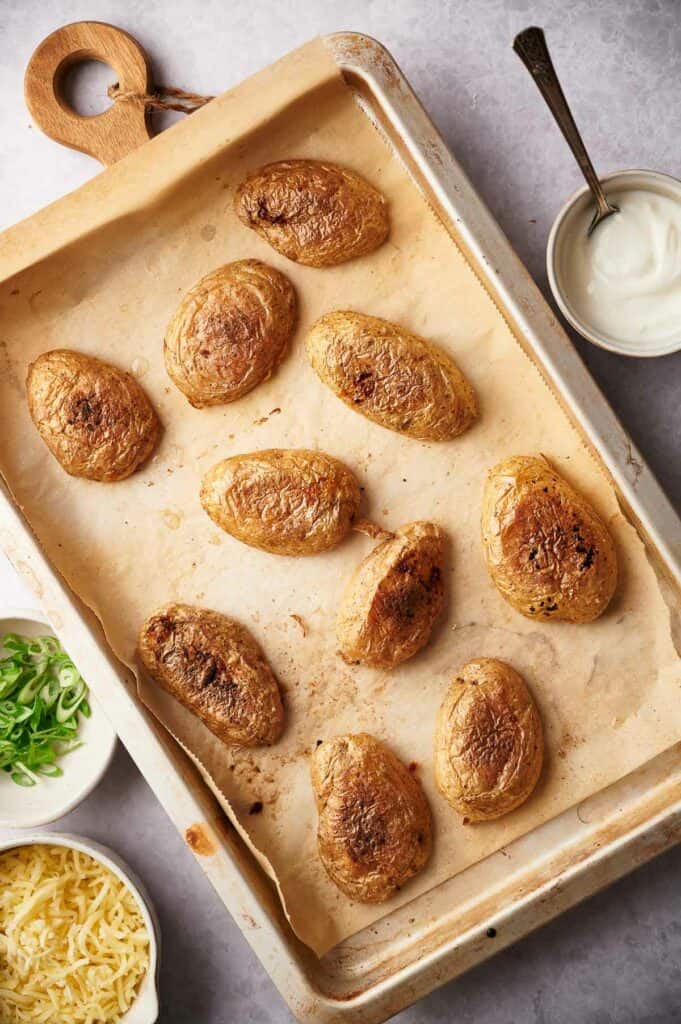
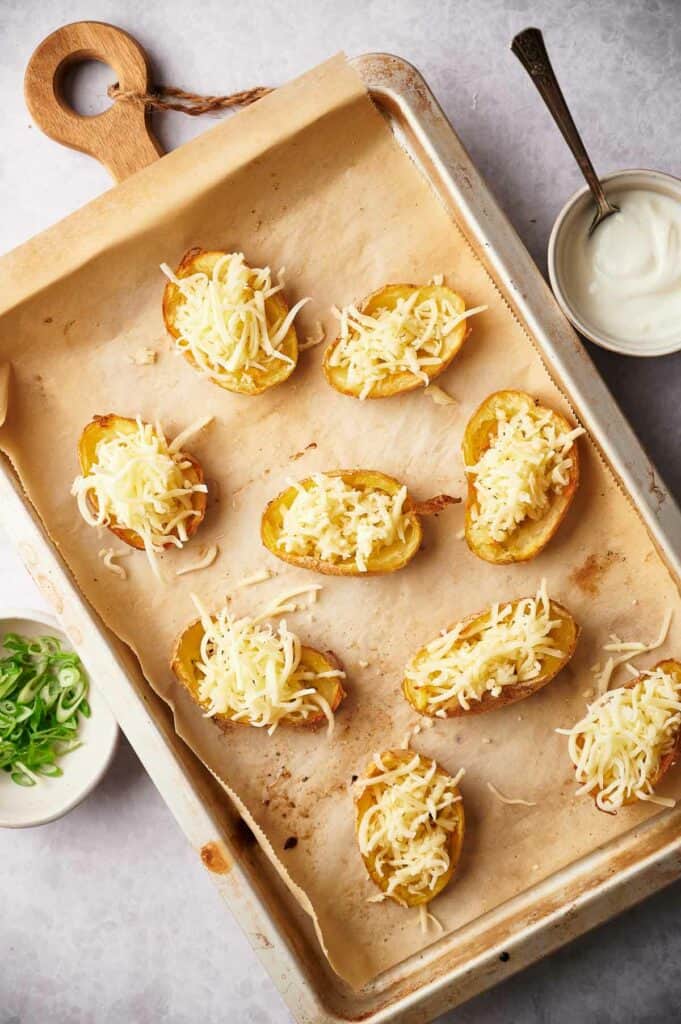
Set the shells skin-side up on a baking sheet and bake for 10 minutes, then flip them and give them another 10. This is the step that decides whether they come out crisp or soft, so don’t rush it. Add the cheddar and bake just until it melts, about 2 minutes.
Add the toppings
Out of the oven, spoon on the sour cream and scatter over the green onions or chives. Keep a little cheese back to sprinkle on top while they’re still hot.
Recipe Notes and Expert Tips
- Crisp the empty shells before the cheese goes on. Bake the hollow shells until the edges are dry and firm, then add the cheddar. Topping a soft shell is the main reason potato skins turn out limp.
- Leave about a quarter inch of flesh. Too thin and the shells tear when you flip them; too thick and they stay stodgy instead of crisping. A quarter inch holds its shape and still gets crisp.
- Grate the cheddar off a block. It melts into the shells more evenly than pre-shredded cheese, and I keep a box grater by the stove for the job.
- Let the cheese come to room temperature. Cheddar straight from the fridge melts slowly and unevenly. Fifteen minutes on the counter sorts it out.
Recipe Variations
- Switch up the cheese. Monterey Jack melts softer, mozzarella turns stringy, and a few blue cheese crumbles bring a sharper edge. I’ve tested all of these and still lean toward sharp cheddar.
- For a smoky version, dust the shells with smoked paprika before you crisp them. I’ve tested this one, and I keep it to about half a teaspoon so it adds color and a mild smoke without turning bitter.
- Load them up vegetarian-style with sautéed mushrooms, pickled jalapeños, or vegetarian bacon bits. Those combinations are untested here, so add them after the cheese melts and go by eye.
How to Store Leftovers
Store leftover skins in an airtight container in the fridge for up to 3 days, keeping any extra sour cream separate, so the shells don’t turn soft. Reheat them in the oven or air fryer until the cheese is hot and the edges crisp again; the safe mark for reheated leftovers is 165°F (74°C). Skip the microwave, which steams them limp.
To freeze, do it before adding any toppings. Freeze the baked skins on a baking sheet for 1 hour before transferring them to a container so they don’t stick together. They keep for up to 3 months this way, then reheat straight from frozen with fresh toppings added after.
For make-ahead, bake and scoop the potatoes up to a day in advance and chill the empty shells. Crisp them, add the cheese, and top them just before serving, which holds up far better than refrigerating finished skins.
If you’re carrying them to a potluck or tailgate, watch the clock: cooked food shouldn’t sit out longer than 2 hours, or 1 hour if it’s above 90°F (32°C) outside.
What to Serve With Loaded Potato Skins
I put these out as part of a bigger game day tray. A batch of baked jalapeño poppers and a warm spinach and artichoke dip with homemade tortilla chips cover the hot, hands-on end of the table, and the crisp skins round it out.
When I want them to anchor a lighter meal rather than a snack table, I pair them with a bowl of roasted tomato soup and a simple green salad. A cool, crunchy slaw on the side also cuts through the cheese and sour cream.
FAQs
The usual cause is adding cheese to a shell that hasn’t crisped yet. Give the empty shells their full bake until the edges firm up, go light on the oil, and don’t skip the flip partway through. Crisp first, load second.
Yes. The part that saves time is the baking and scooping, so do that up to a day ahead and refrigerate the bare shells. Finish the crisping and the toppings right before serving, rather than storing them fully loaded, which goes soft.
Yes, as long as they go in plain. Once the shells are crisped but still bare, they freeze for up to 3 months. Reheat from frozen in the oven, then add the sour cream and onions, since toppings frozen in place tend to weep when they thaw.
That scooped potato is worth keeping. It mashes, drops into soup, or binds into croquettes. I scoop it straight into a bowl and decide once the skins are in the oven.
More Easy Appetizers to Make
If these disappear as fast as they do here, here are a few more I keep in the party rotation.
- Crispy Potato Fritters. When I want a smaller, faster potato bite, these are the ones I fry up.
- Mac and Cheese Balls. The other thing that vanishes off a tray, so I often make both for the same night.
- Pinwheel Sandwiches. For a no-oven option, I slice and plate a batch of these the day before.
- Homemade Pizza Rolls. When the crowd skews younger, these go faster than anything else on the table.

Ingredients
- 2 russet potatoes
- 1 tablespoon olive oil
- Salt and pepper to taste
- ½ cup Cheddar cheese shredded, keep a sprinkling back for garnish once cooked
- ½ cup sour cream
- Green onions optional
- Chives chopped optional

Video
Instructions
- Preheat your oven 400°F/205°C
- Scrub your potatoes so that they are clean and dirt free. Using a fork, poke holes in 4 or 5 places around each potato. Coat the potatoes with olive oil, salt, and pepper. Now, place the potatoes on the middle rack of your oven and bake for 50-60 minutes or until softened. Remove from the oven and leave to cool until you can handle them.1 tablespoon olive oil, Salt and pepper
- Cut your cooked potatoes in half and scoop out most of the flesh, leaving approximately ¼ inch of flesh in the potatoes. See blog post for ideas of what to do with left over potato flesh.2 russet potatoes
- Now, place the potato skins on a baking sheet, skin side up and bake for 10 minutes, then flip them, and cook for a further 10 minutes. Then add the cheese and cook until the cheese has fully melted approximately 2 minutes½ cup Cheddar cheese
- Remove the skins from the oven and load up with sour cream and a sprinkling of shredded cheese, optional green onions, or chives½ cup Cheddar cheese, ½ cup sour cream, Green onions, Chives chopped
- Serve immediately and enjoy!
Notes
Nutrition
